Items
Home > Digital Printing > Items
- Click on the Item button on the dashboard.

- Click on the Add Item Button on the right top

-
Add Item Name, Item Group, Textile Item Type, Default UOM, and other necessary information as shown below.
-
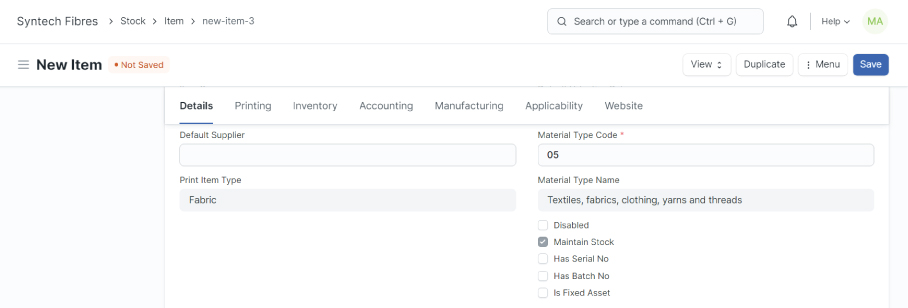
Select Material Type Code, and Print Item Type as shown below.
- Check mark on is sales item, is purchase item.

- Check mark on include item in manufacturing, if item use in production.

- Check mark on is packaging material, if item is use in packing.

- If the item is provided by the customer, check mark on Is Customer Provided Item, and add the customer name as shown below.

- Add the other relevant data and click on the save button.

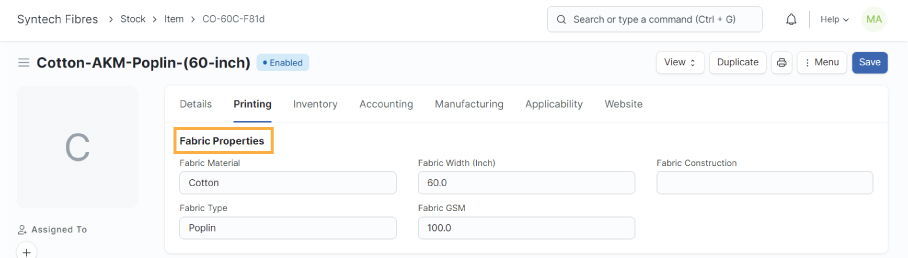
- Fabric properties are mandatory if the item type is Fabric.
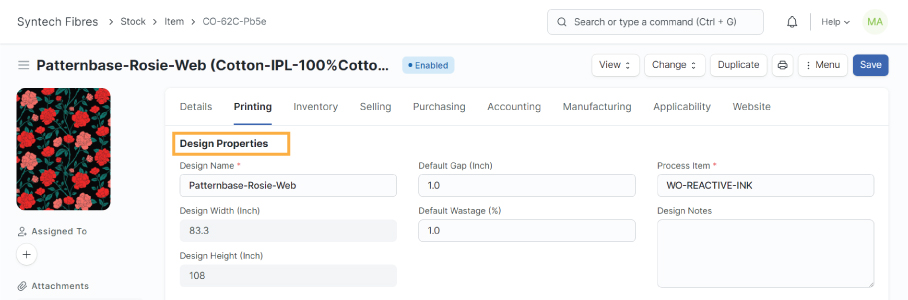
- Design details are mandatory if the Print Item Type is Printed Design.
- Greige Fabrics: Raw Fabrics
- Printed Fabrics: Ready to deliver fabrics
- Ready Fabrics: Ready to print fabrics