An elegant and responsive theme for Pelican Static Site generator.
See the demo here
This is a serious adaption from Attila Ghost Theme.
See the demo at: attila.peteramende.de
- Theme options
- Responsive layout
- Light and Dark Mode
- Search & Popular Tags
- Code highlight including line numbers
First, choose a location to hold your themes. For this example, we'll use the directory ~/pelican-themes/progem, but yours could be different. Clone the pelican-themes repository to that location on your local machine:
git clone https://github.com/spydermaxi/pelican-progem ~/pelican-themes/progemNow you should have Progem repository stored at ~/pelican-themes/progem.
To use one of the themes, edit your Pelican settings file (pelicanconf.py) to include this line:
THEME = "/home/user/pelican-themes/progem"-
Neighbor Articles: A Plugin for Pelican - Neighbors is a Pelican plugin that adds Next/Previous links to articles.
Installation - Simply activate your environment and install via:
python -m pip install pelican-neighbors
Usage - The theme uses the
prev_articleandnext_articlevariables to create links in article page in jinja templating. No configuration required from you. -
Image Process: A Plugin for Pelican - Image Process also makes it easy to create responsive images using the HTML5 srcset attribute and
tag. It does this by generating multiple derivative images from one or more sources. Installation - Simply activate your environment and install via:
python -m pip install pelican-image-process
Usage - Add the following codes into
pelicanconf.pyfile to enable responsive srcset imagesIMAGE_PROCESS = { "large-photo": { "type": "responsive-image", "sizes": ( "(min-width: 1200px) 800px, " "(min-width: 992px) 650px, " "(min-width: 768px) 718px, " "100vw" ), "srcset": [ ("600w", ["scale_in 600 450 True"]), ("800w", ["scale_in 800 600 True"]), ("1600w", ["scale_in 1600 1200 True"]), ], "default": "800w", }, }
Additional variables that the theme uses:
- Theme
# Example directory of progem
THEME = "/home/user/pelican-themes/progem"- Site Subtitles
SITESUBTITLE = 'An elegant responsive theme for pelican-progem'- Social Widgets
# Social widget should be in tuple format ('social-name', 'social-website') #
SOCIAL = (('github', 'http://github.com/spydermaxi/pelican-progem'),
          ('facebook', 'https://facebook.com'),
          ('instagram', 'https://instagram.com'),
('youtube', 'https://youtube.com'))- Go to fonts.google.com and choose a font.
- Choose Embed and copy the
<link>code. - Go to Code injection.
- Add this to Blog Header:
<link href="https://fonts.googleapis.com/css2?family=Mukta&display=swap" rel="stylesheet">
<link href="https://fonts.googleapis.com/css2?family=Crimson+Text&display=swap" rel="stylesheet">
<style>
:root {
--font-primary: 'Mukta', sans-serif;
--font-secondary: 'Crimson Text', serif;
}
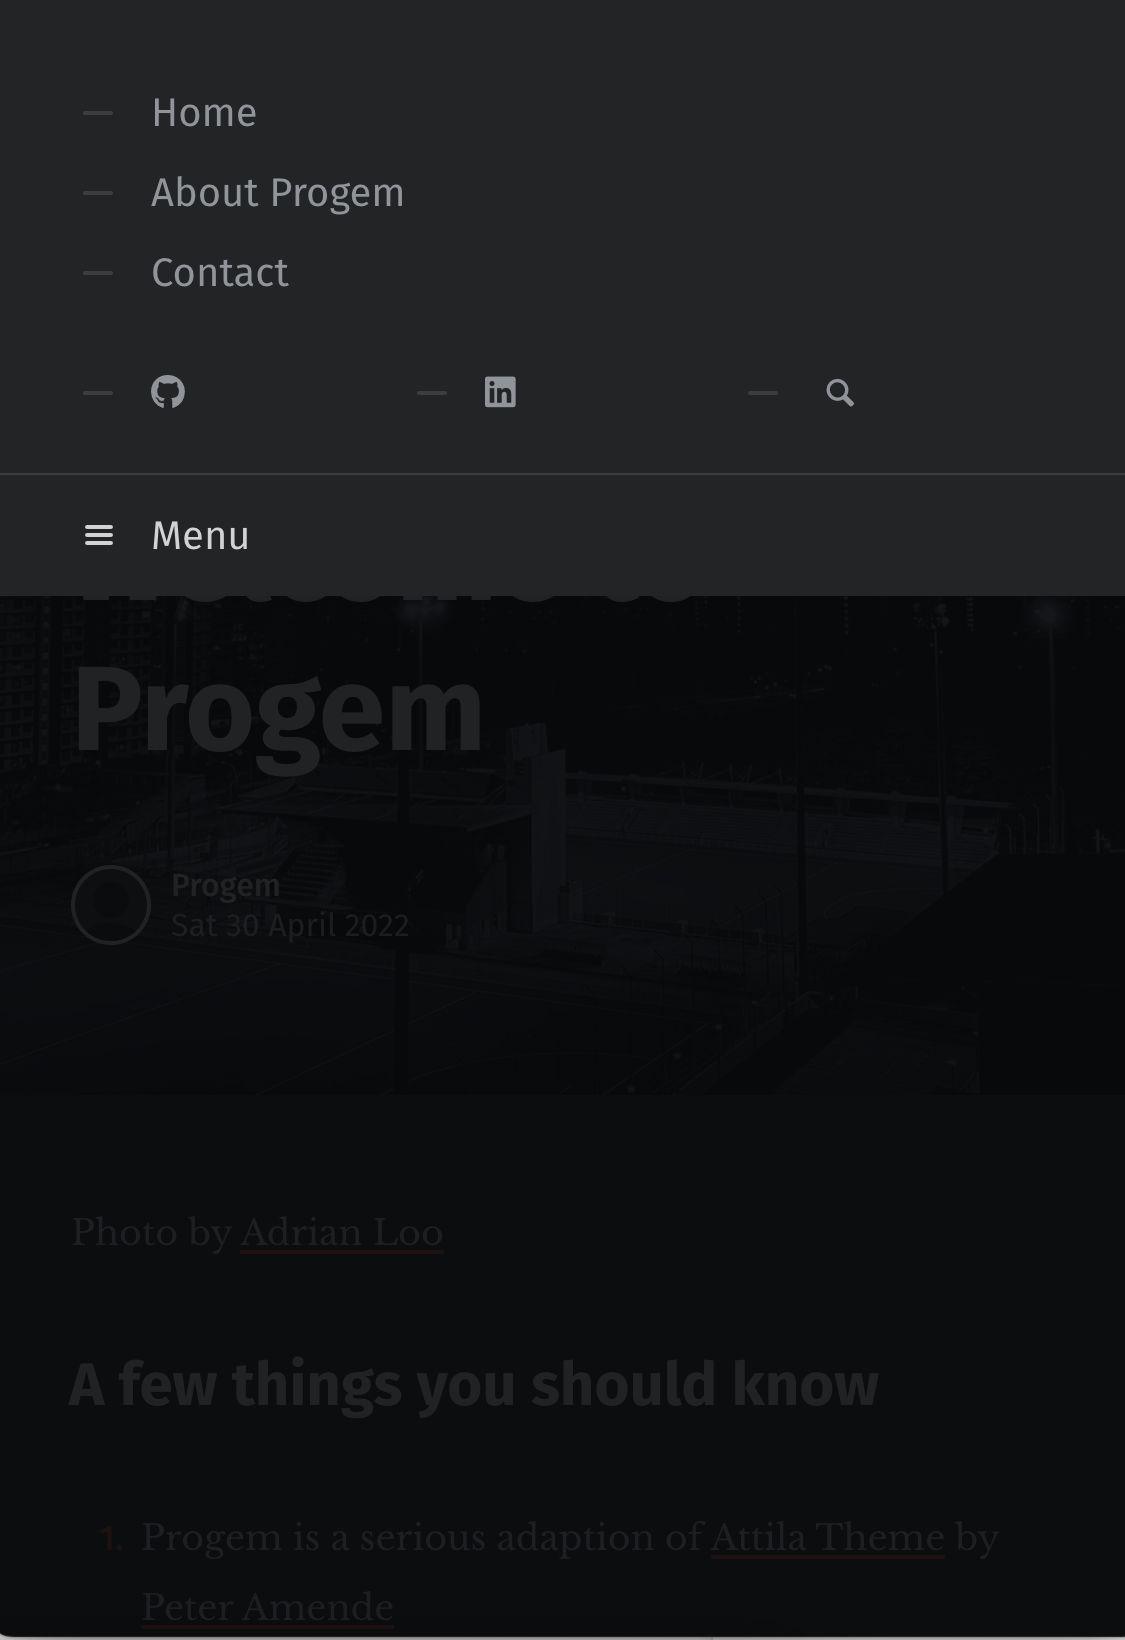
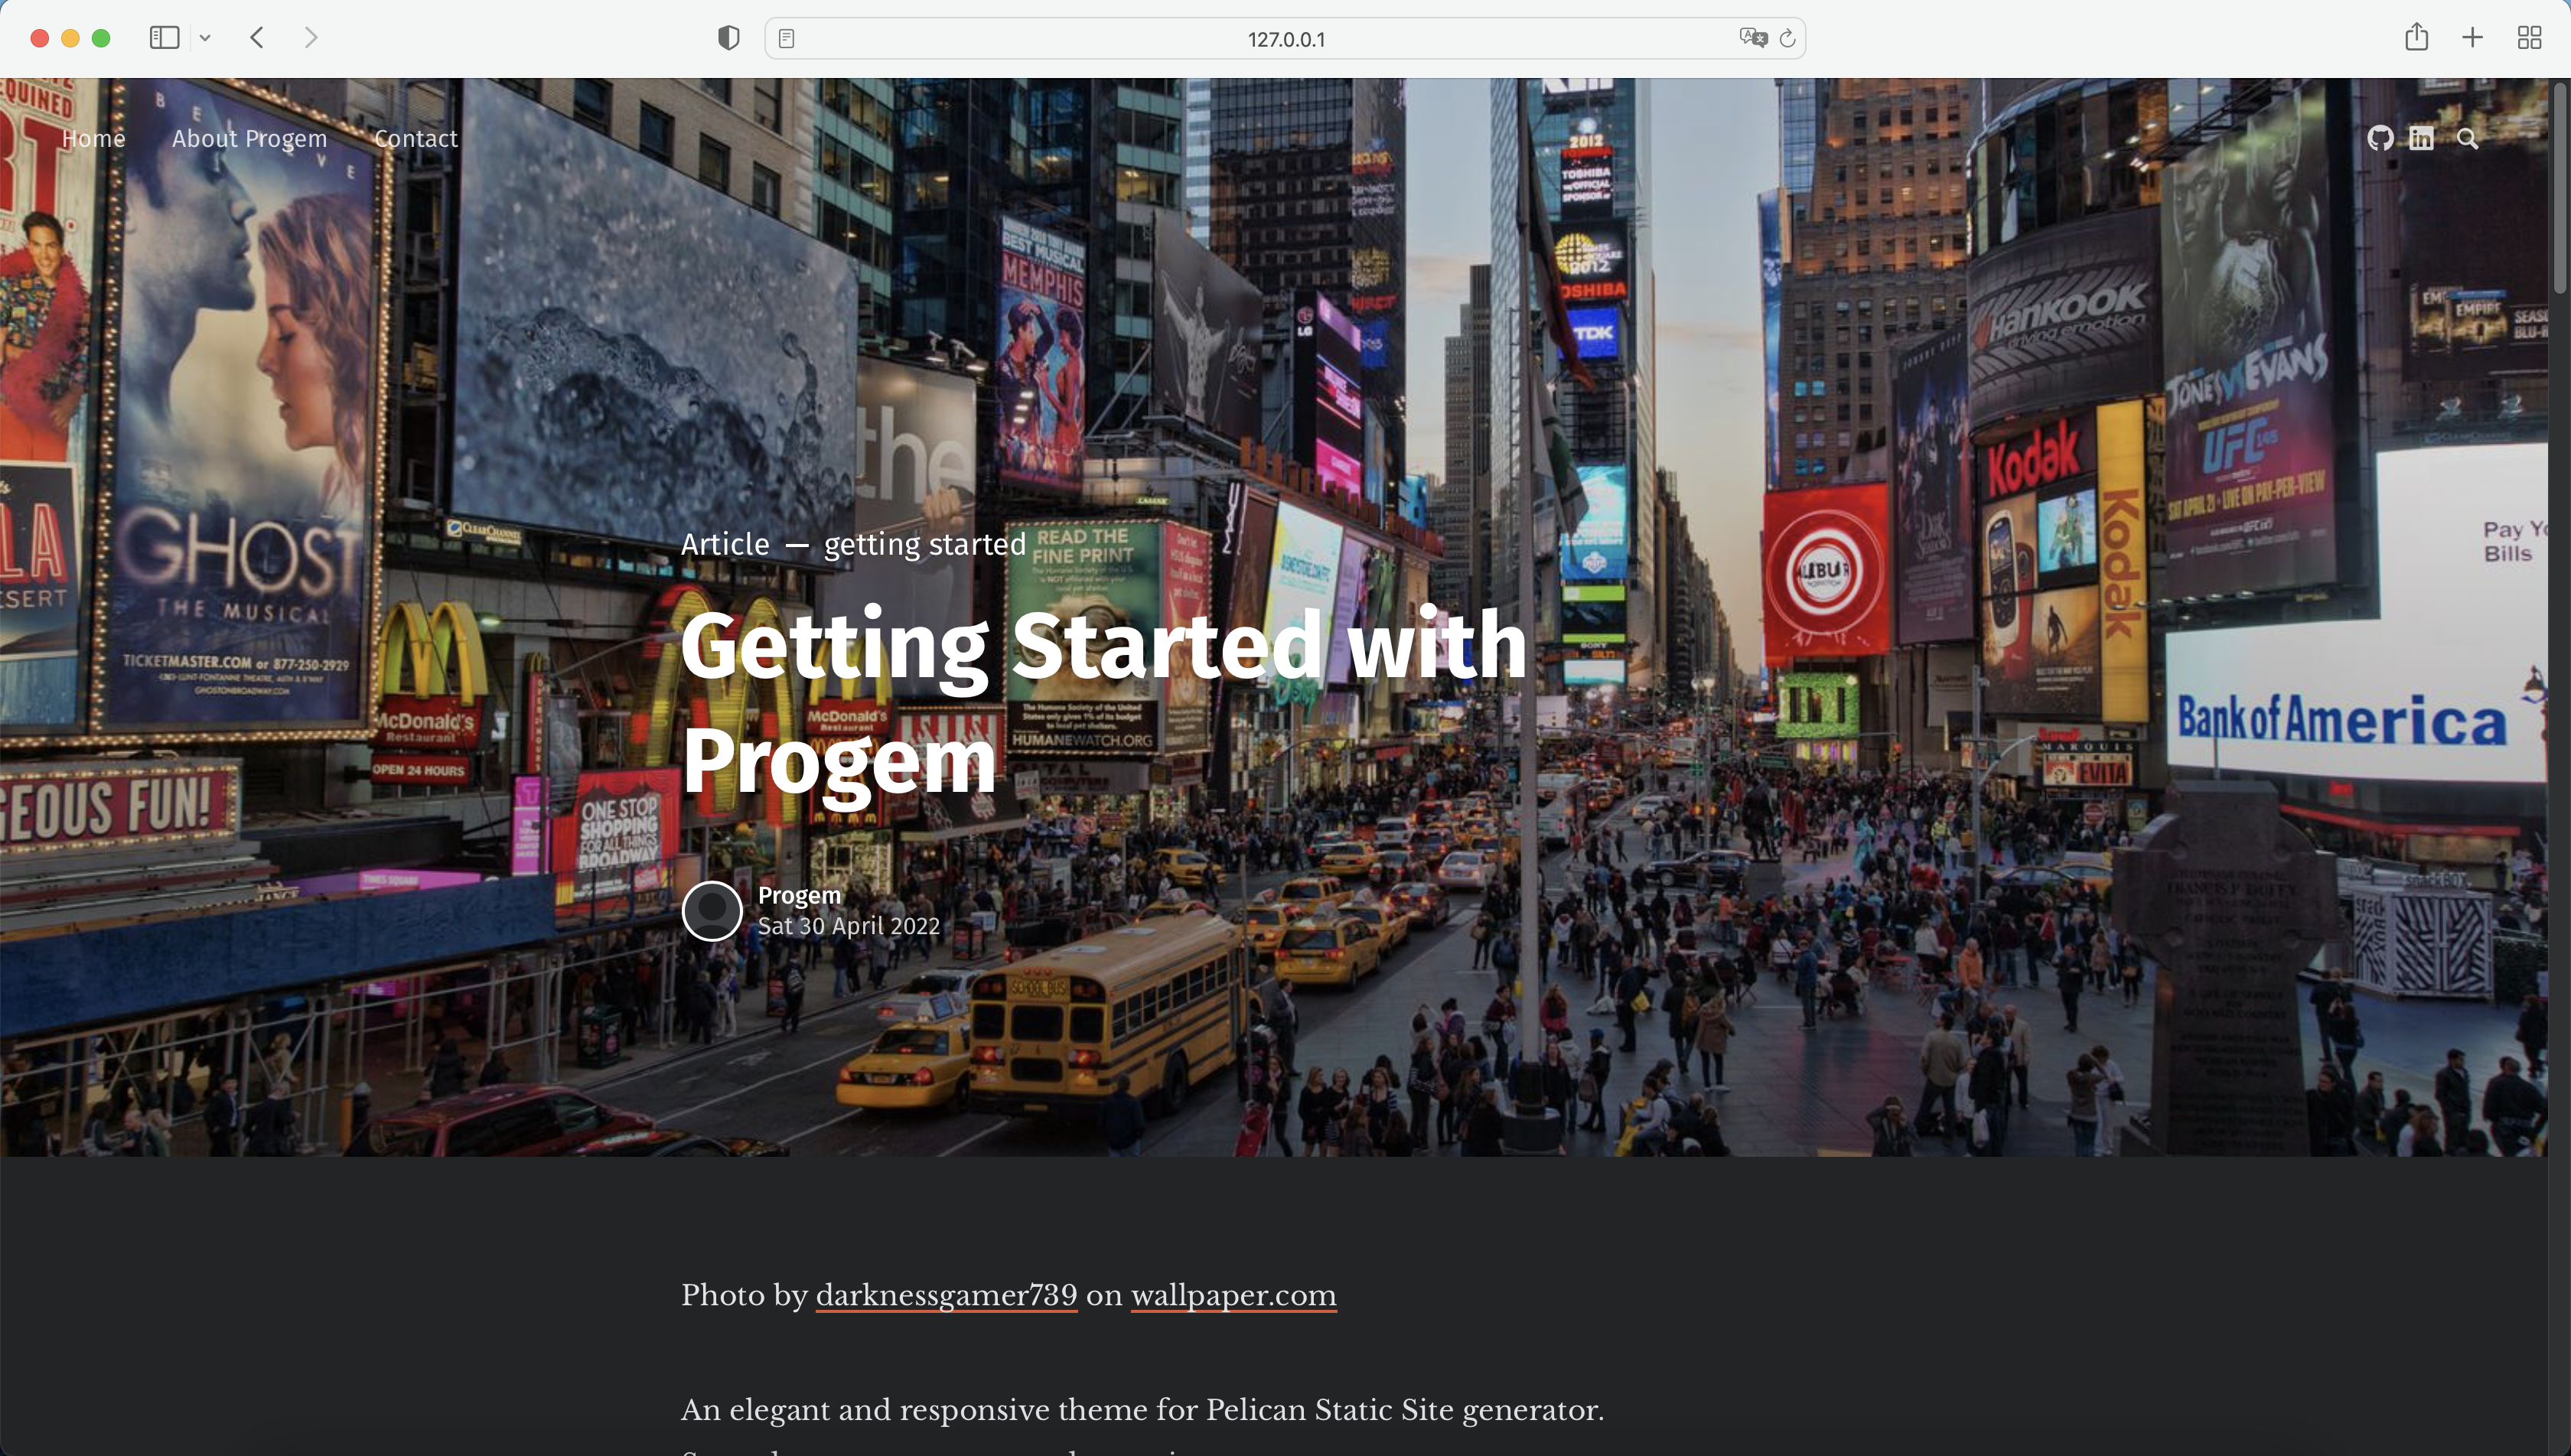
</style>Each article allows the author to include a cover image.
To add the image simply add the Feature_Image meta data at the top of the article like so:
Feature_Image: images/light_times_square.jpg
The images/loght_time_square.jpg is where you store the original image in your content/images/ directory/folder
Here's how it looks like in the article:
Title: Getting Started with Progem
Date: 2022-04-30 22:00
Tags: getting started, progem, how to
Slug: getting-started-with-progem
Authors: Progem
Feature_Image: images/light_times_square.jpg
Summary: Some simple instructions on how to get started with Progem.
Copyright (C) 2022 Adrian Loo - Released under the MIT License.