Home
Use HACS to install by adding the repository and downloading any version from 0.9.0.

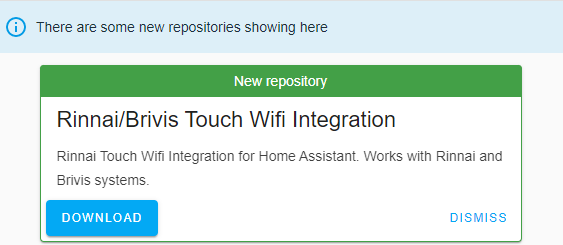
After a restart and browser refresh, look for the Rinnai Touch integration.
The integration connects to a Rinnai Touch Wifi unit and allows control of your climate unit at home. It features just about all functions available on the Rinnai Touch App or the NC-x controllers:
- Mode switching (Heating, Cooling, Evaporative)
- Manual/Auto mode
- Fan control (Circulation fan, fan speed, fan on/off for evaporative)
- Setting target temperature and comfort level (for evaporative)
- Reports prewetting and preheating sensors
- Advance button for auto/program mode
- Reports temperature if reported by the system (only NC-7 controllers)
- Zone control
In addition, the integration allows to add external temperature sensors, as many configurations do not report it.
The integration adds a climate entity for the unit, and for each zone if installed and selected on setup. It also adds a number of additional entities so that the UI can be controlled easily with lovelace cards:
- Switches for On/Off, Manual/Auto, fan, water pump, circulation fan
- Button for Advance
- Sensors for temperature for each climate entity
- Select for mode selection
- Binary sensor for prewetting and preheating status
The integration can be controlled using the standard thermostat lovelace card, but some features are not available without adding extra cards, or they are hard to access. This is due to the way the integration is built within the framework of home assistant, mainly due to the available HVAC modes and the greater flexibility of Presets.
Presets are used to switch between the main operating modes: heating, cooling, evaporative. HVAC modes are used to map to Manual, Auto, and FanOnly (Circ Fan) modes.
Personally, I use a custom card setup and utilise a custom lovelace card to control the temperature/comfort level/fan speed:
square: false
columns: 1
cards:
  - type: vertical-stack
    cards:
      - type: entities
        entities:
          - entity: climate.rinnai_touch
            name: Climate Control
          - entity: binary_sensor.rinnai_touch_evap_prewetting_sensor
            name: Prewetting Active
          - entity: binary_sensor.rinnai_touch_preheating_sensor
          - type: custom:slider-entity-row
            entity: climate.rinnai_touch
            full_row: true
          - entity: switch.rinnai_touch_auto_switch
            name: Auto Mode
          - entity: switch.rinnai_touch_water_pump_switch
            name: Water Pump
          - entity: switch.rinnai_touch_evap_fan_switch
          - entity: button.rinnai_touch_advance_button
            name: Advance
          - entity: select.rinnai_touch_preset_select
          - entity: switch.rinnai_touch_circulation_fan_switch
        title: Heating and Cooling
        show_header_toggle: false
        state_color: false
      - type: grid
        cards:
          - type: button
            tap_action:
              action: toggle
            entity: switch.rinnai_touch_on_off_switch
            show_state: true
            name: ' '
            show_name: true
          - type: button
            tap_action:
              action: toggle
            entity: switch.rinnai_touch_heater_mode_switch
            hold_action:
              action: none
            show_state: true
            name: Heater
          - type: button
            tap_action:
              action: toggle
            entity: switch.rinnai_touch_evap_mode_switch
            show_state: true
            show_icon: true
            hold_action:
              action: none
            name: Evap
        columns: 3
This results in a control like this:
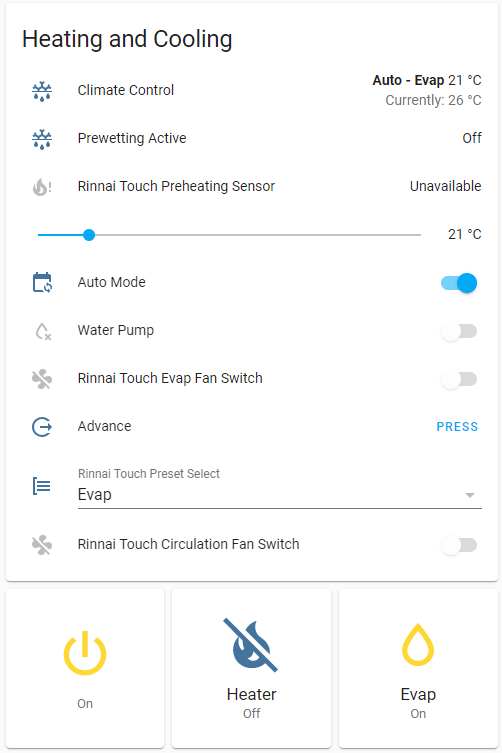
Read the full documentation to understand more about each entity.
Read the full documentation to explore all capabilities of the integration.
I will be collating and answering frequently asked questions in this section.