This project contains an ASP.NET Core Web API application that provides translation and word lookup services using the OpenAI API. The application serves as a translation service for the CopyWords application.
The API provides HTTP endpoints for translating text and looking up word definitions, utilizing OpenAI's language models for accurate translations and definitions. The service can be easily extended to support additional translation providers if needed.
You will need an OpenAI API key to use this service:
- Go to OpenAI Platform
- Sign up or log in to your account
- Navigate to API Keys section
- Create a new API key and save it securely
- .NET 9.0 SDK or later
- Visual Studio 2022 or Visual Studio Code
This application provides two different approaches for integrating with OpenAI's services, each with its own advantages and use cases. You can switch between them using an environment variable.
The OpenAITranslationService class uses OpenAI's standard Chat Completions API with structured output via JSON schema. This is the default option used when no additional configuration is set.
The OpenAITranslationService2 class uses OpenAI's newer, experimental Response API. This approach:
- Uses the
/v1/responsesendpoint (currently in beta) - Requires prompts to be pre-created and managed in the OpenAI dashboard
- References prompts by their unique ID rather than sending prompt text
- Provides centralized prompt management through OpenAI's interface
- Is ideal for applications with stable, reusable prompts
Setting up Response API:
- Navigate to the OpenAI Platform Dashboard
- Create a new prompt with the required variables (
source_language,destination_langauge,input_json) - Copy the prompt ID from the dashboard
- Update the prompt ID in
OpenAITranslationService2.GetPromptMessage()method
Note: The Response API is currently experimental and subject to change.
The application automatically selects which service to use based on the USE_OPENAI_RESPONSE_API environment variable:
- Option 1 (Default): No environment variable set or set to
false/0 - Option 2: Set
USE_OPENAI_RESPONSE_APItotrueor1
# Remove the environment variable or set it to false
[Environment]::SetEnvironmentVariable("USE_OPENAI_RESPONSE_API", $null, "User")
# OR
[Environment]::SetEnvironmentVariable("USE_OPENAI_RESPONSE_API", "false", "User")[Environment]::SetEnvironmentVariable("USE_OPENAI_RESPONSE_API", "true", "User")The application checks for this environment variable at both the process level and user level, so you can set it using either "Process" or "User" scope.
For local development and testing, you need to set up the OpenAI API key and configure the HTTP test environment.
The application requires an OpenAI API key to be set as an environment variable. You can set it in one of the following ways:
[Environment]::SetEnvironmentVariable("OPENAI_API_KEY", "your-api-key-here", "User")[Environment]::SetEnvironmentVariable("OPENAI_API_KEY", "your-api-key-here", "Machine")Right-click on the TranslatorApp project in Visual Studio and select "Manage User Secrets", then add:
{
  "OPENAI_API_KEY": "your-api-key-here"
}The project includes HTTP test files for testing the API. The http-client.env.json file contains environment configurations:
{
  "dev": {
    "HostAddress": "http://localhost:5132"
  },
  "dev-docker": {
    "HostAddress": "http://localhost:8080"
  },
  "remote-host": {
    "HostAddress": "https://..."
  }
}- Open the solution in Visual Studio 2022
- Ensure the OpenAI API key is configured (see step 1)
- Press F5 or click "Start Debugging" to run the application
- The API will be available at
http://localhost:5132(or the port shown in the console)
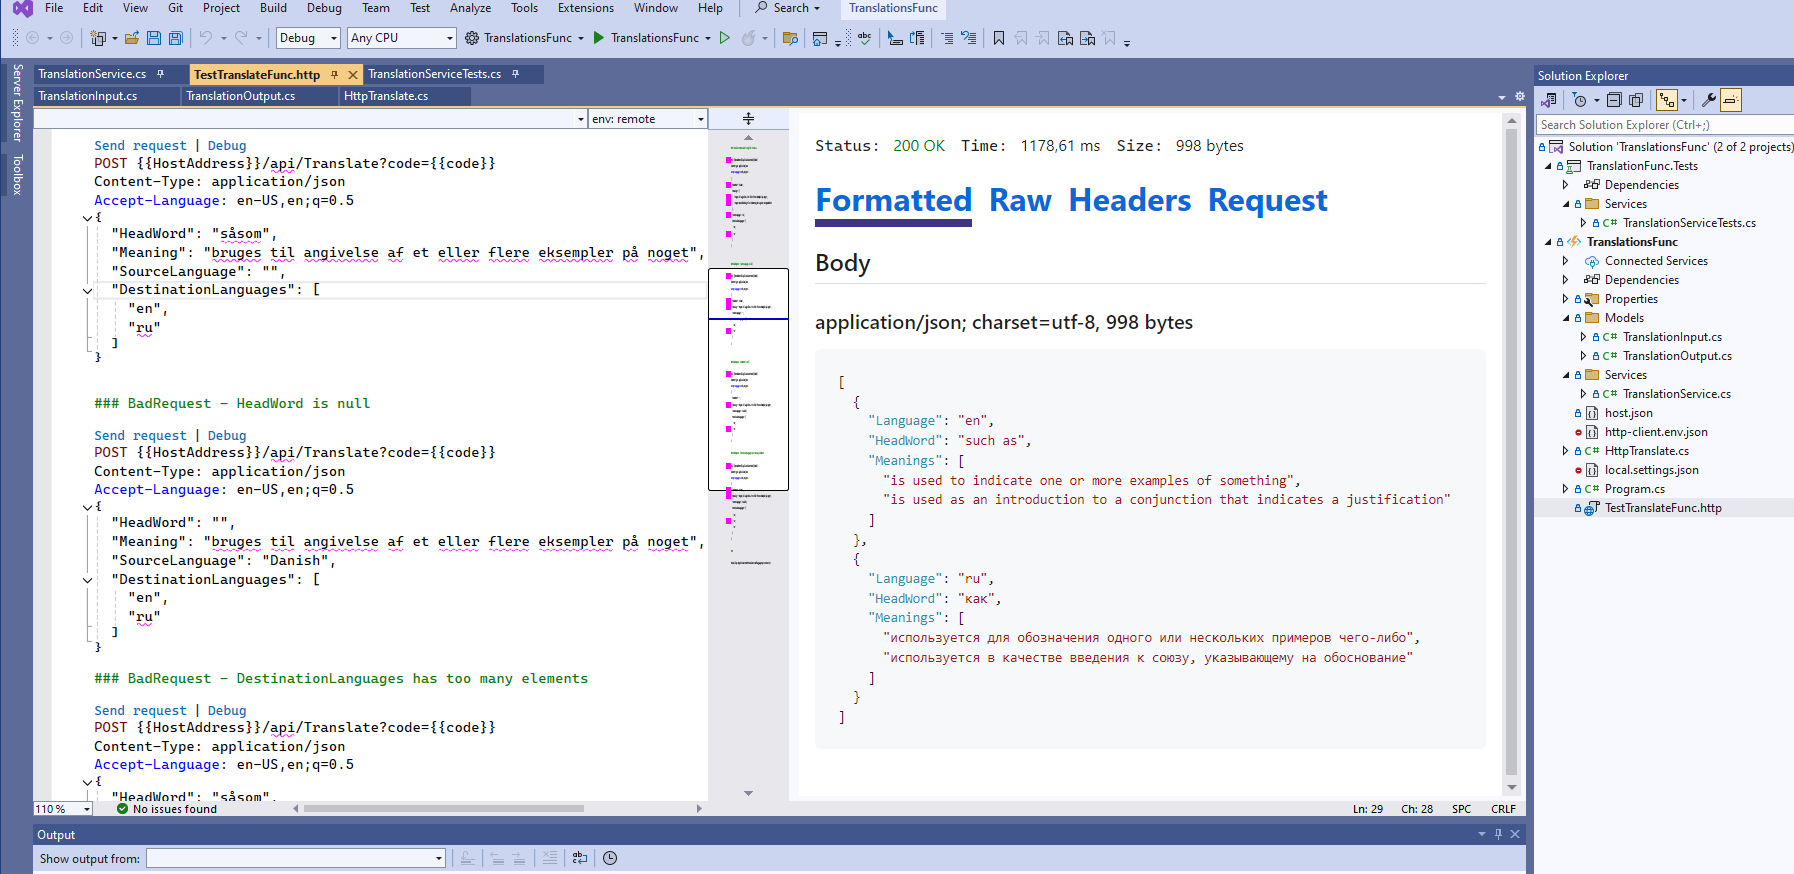
Open the HTTP test files in the HttpTests folder:
TranslationController.LookUpWord.http- Test word lookup functionalityVersion.http- Test version endpoint
Select the dev environment and send test requests. If everything is configured correctly, you will receive responses with translations and word definitions.
The application includes Docker support for containerized deployment.
docker build -t translator-app .docker run -d -p 8080:8080 --env OPENAI_API_KEY=your-api-key-here translator-appThe application will be available at http://localhost:8080.
The project is currently configured for deployment to DigitalOcean App Platform.
The application provides the following endpoints:
Looks up word definitions and translations.
Request Body:
{
  "Text": "såsom",
  "SourceLanguage": "Danish",
  "DestinationLanguage": "Russian",
  "Version": "1"
}
Response:
{
  "word": "såsom",
  "soundUrl": "https://static.ordnet.dk/mp3/11052/11052560_1.mp3",
  "soundFileName": "såsom.mp3",
  "definitions": [
    {
      "headword": {
        "original": "såsom",
        "english": "as, for example, such as",
        "translation": "как, например, в качестве"
      },
      "partOfSpeech": "konjunktion",
      "endings": "",
      "contexts": [
        {
          "contextEN": "",
          "position": "",
          "meanings": [
            {
              "original": "bruges til angivelse af et eller flere eksempler på noget",
              "translation": "используется для указания одного или нескольких примеров чего-либо",
              "alphabeticalPosition": "1",
              "tag": null,
              "imageUrl": null,
              "examples": [
                {
                  "original": "Festdragterne blev anvendt til større fester, såsom konfirmationer, bryllupper og dans omkring majstangen.",
                  "translation": null
                }
              ]
            },
            {
              "original": "bruges som indledning til en ledsætning der angiver en begrundelse",
              "translation": "используется как вводное слово в придаточном предложении, выражающем причину",
              "alphabeticalPosition": "2",
              "tag": null,
              "imageUrl": null,
              "examples": [
                {
                  "original": "han .. var sit firmas dygtigste sælger, såsom han flere år i træk havde præsteret de flotteste salgstal.",
                  "translation": null
                }
              ]
            }
          ]
        }
      ]
    }
  ],
  "variations": [
    {
      "word": "såsom konj.",
      "url": "https://ordnet.dk/ddo/ordbog?select=s%C3%A5som&query=s%C3%A5som"
    }
  ]
}The repository includes build configurations that can be used with various CI/CD platforms. You will need to configure:
- Source control integration
- Build pipeline configuration
- Deployment target settings
- Environment variables (especially
OPENAI_API_KEY)
For Azure DevOps, GitHub Actions, or other CI/CD platforms, make sure to:
- Configure the build pipeline to restore, build, and test the solution
- Set up deployment to your chosen hosting platform
- Configure the
OPENAI_API_KEYsecret in your CI/CD environment