Python library and GUI for efficient processing and visualization of time series.

![]()
![]()
The python library provides tools for:
- Import and export from/to various pre-defined time series file formats
- Signal processing
- Inferring statistical distributions
- Cycle counting using the Rainflow algorithm
It was originally created to handle time series files exported from SIMO and RIFLEX. Now it also handles SIMA hdf5 (.h5) files, Matlab (version < 7.3) .mat files, CSV files and more.
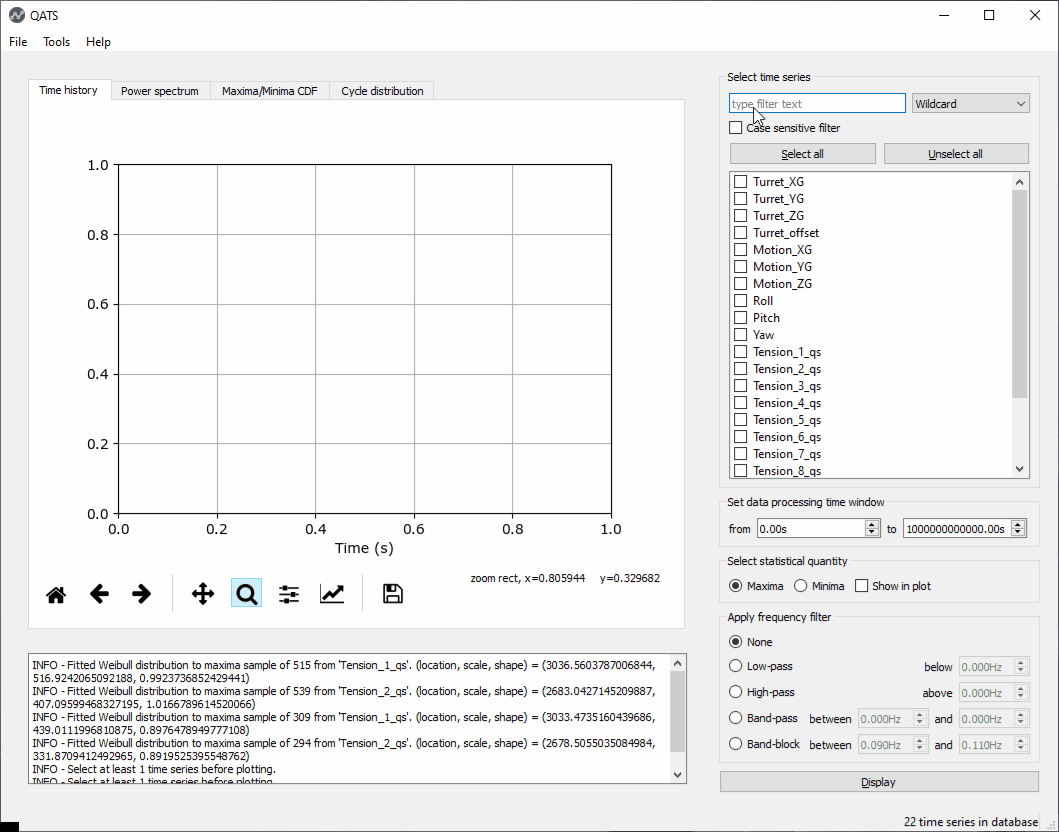
QATS also features a GUI which offers efficient and low threshold processing and visualization of time series. It is perfect for inspecting, comparing and reporting:
- time series
- power spectral density distributions
- peak and extreme distributions
- cycle distributions
Run the below command in a Python environment to install the latest QATS release:
python -m pip install qatsTo upgrade from a previous version, the command is:
python -m pip install --upgrade qatsYou may now import qats in your own scripts:
>>> from qats import TsDB, TimeSeries... or use the GUI to inspect time series.
New in version 5.0.0.
The Qt binding PySide6 is installed with qats.
If you would rather like to use PyQt6, run
python -m pip install pyqt6If multiple Qt bindinds are installed, the one to use may be controlled by setting the environmental variable QT_API to the desired package. Accepted values include pyqt6 (to use PyQt6) and pyside6 (PySide6). For more details, see README file for qtpy.
The GUI may now be launched by:
qats appTo create a start menu link, which you can even pin to the taskbar to ease access to the QATS GUI, run the following command:
qats config --link-appTake a look at the resources listed below to learn more.
New in version 4.11.0. The command line interface is also accessible by running Python with the '-m' option. The following commands are equvivalent to those above:
python -m qats app
python -m qats config --link-appThese instructions will get you a copy of the project up and running on your local machine for development and testing purposes. See deployment for notes on how to deploy the project on a live system.
Install Python version 3.8 or later from either https://www.python.org or https://www.anaconda.com.
Install Poetry with the official installer.
Install the poetry-dynamic-versioning plugin:
poetry self add "poetry-dynamic-versioning[plugin]"
At the desired location, run:
git clone https://github.com/dnvgl/qats.git
To get the development environment running...
poetry installThis will
- create an isolated environment
- install all dependencies including those required for development, testing and building documentation
- and install the package in development ("editable") mode
You should now be able to import the package in the Python console,
>>> import qats
>>> help(qats)
... and use the command line interface (CLI).
qats -hNew in version 4.11.0. The CLI is also available from
python -m qats -hThe automated tests are run using unittest.
python -m unittest discover Build tarball and wheel distributions by
poetry buildThe builds appear in the .dist folder. The distributions adhere to the PEP 0427
convention {distribution}-{version}(-{build tag})?-{python tag}-{abi tag}-{platform tag}.whl.
The html documentation is built using Sphinx
sphinx-build -b html docs\source docs\_buildTo force a build to read/write all files (always read all files and don't use a saved environment), include the -a and -E options:
sphinx-build -a -E -b html docs\source docs\_buildWe apply the "major.minor.micro" versioning scheme defined in PEP 440. See also Scheme choices on https://packaging.python.org/.
Versions are tagged with Git tags like v3.0.1. See the tags on this repository.
We use the release cycle in GitHub to cut new releases.
Once a new release is published, GitHub Actions takes care of the packaging, unit testing and deployment to PyPi.
The workflows for continuous integration and deployment are found in .github/workflows.
This project is licensed under the MIT License - see the LICENSE file for details.