
Search Job App
View Demo
.
Report Bug
.
Request Feature


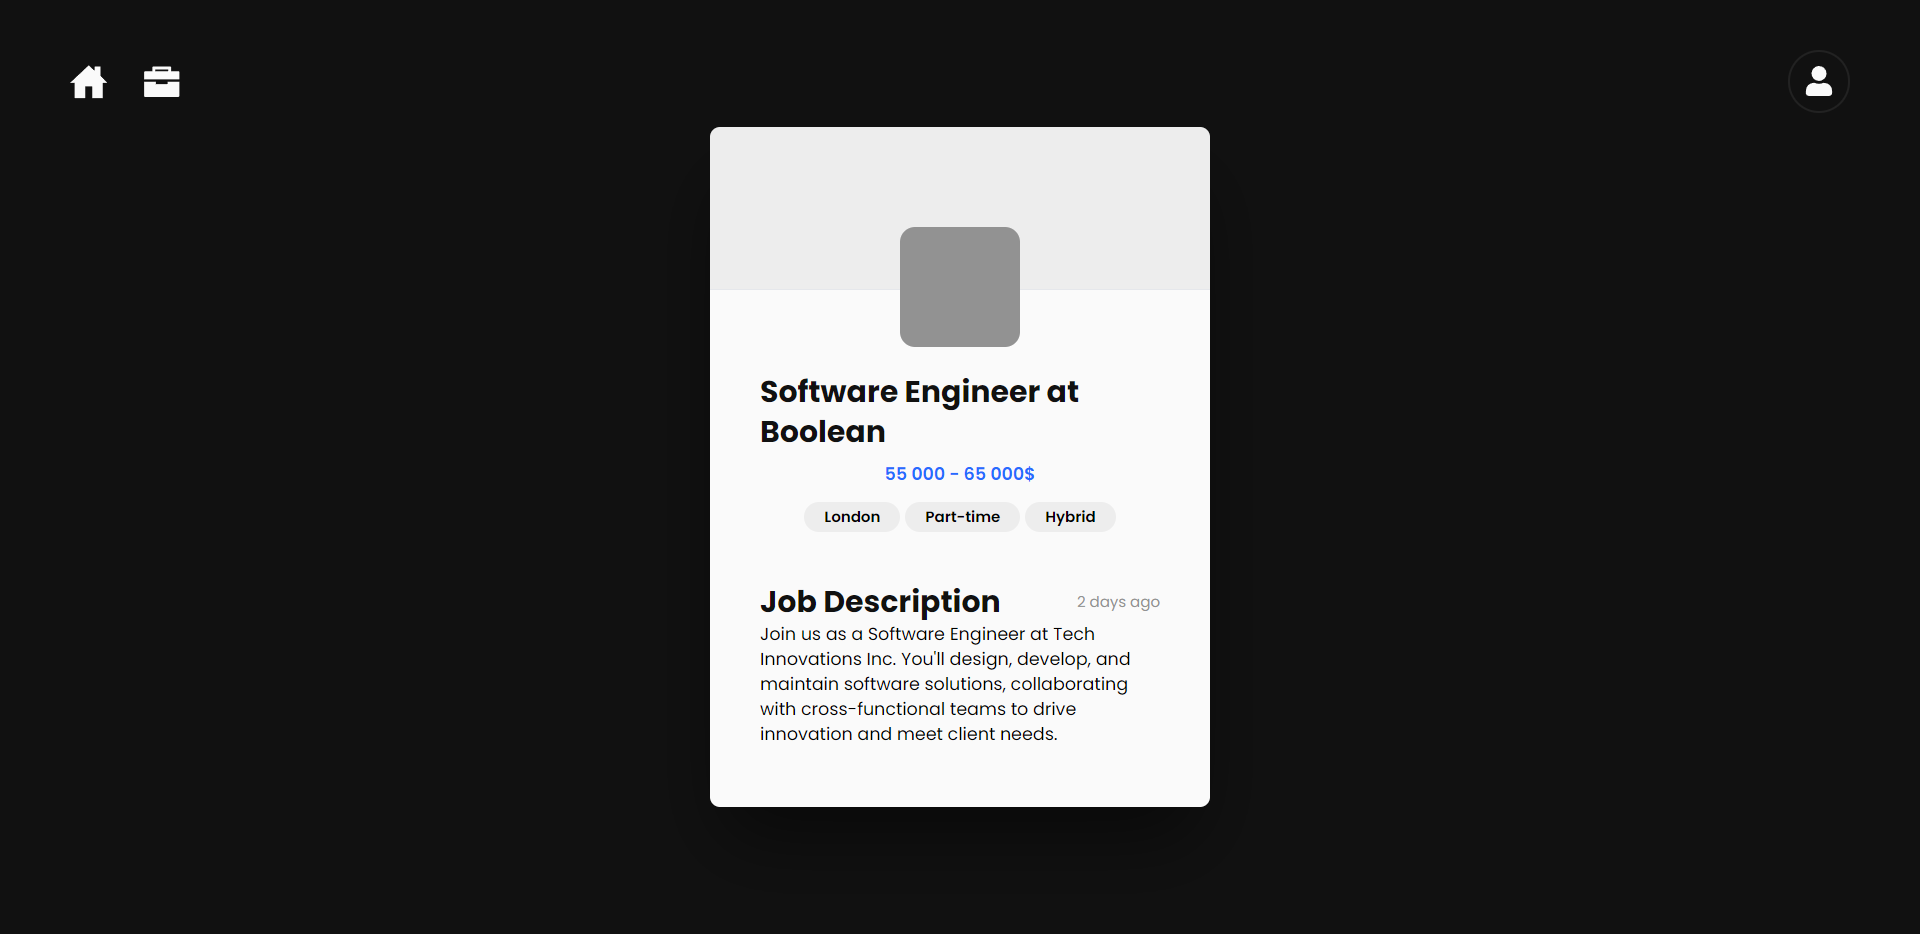
Introducing Jobify - your ultimate companion in the job hunt! Crafted as my flagship project during my time at Boolean, Jobify revolutionizes the job search experience. Picture this: you're presented with job opportunities in the form of sleek, swipeable cards reminiscent of Tinder. With just a swipe to the right, you express interest in a job; a swipe to the left, and it's out of sight.
But Jobify goes beyond mere swipes. Once you've expressed interest in a role, the employer behind the job listing gains insight into your profile. Your profile serves as a comprehensive snapshot of your professional prowess, complete with links to your portfolio website, CV, and more. Employers can gauge your suitability for the role and even reach out to you directly with job offers, creating a seamless bridge between talent and opportunity.
With Jobify, the job search becomes not just efficient, but engaging and interactive. Say goodbye to traditional job boards and hello to a dynamic, intuitive platform designed to connect you with your dream job.


To get a local copy of Jobify and test it manually follow next steps.
Install nodeJS or update npm to latest version using next command.
npm install npm@latest -g- Clone the repo
git clone https://github.com/NazarTymiv/jobify.git-
Sign up or login into ElephantSQL account.
-
Create new instance using this guide.
-
Rename file
.env.exampleto.envinsideserver folder -
Change
DATABASE_URLvariable to link of created database and?schema=prisma&connection_limit=5put on the end of url.
DATABASE_URL="[LINK OF DATABASE]?schema=prisma&connection_limit=5"-
Create one more instance it will be shadow database.
-
Change
SHADOW_DATABASE_URLvariable to link of shadow database and?schema=shadowput on the end of url.
SHADOW_DATABASE_URL="[LINK OF SHADOW DATABASE]?schema=shadow"- Install NPM packages
cd server

npm ci

cd ../client

npm ci- Change
JWT_SECRETvariable to any secret word intoserverfolder.
JWT_SECRET="[JWT SECRET]"- Rename file
.env.exampleto.envinsideclient folder
For run the application use next steps:
-
Open two terminals of this app in VSCode your location should end on
/jobify. -
Inside the first terminal use command npm run server.
-
Inside the second terminal use command npm run client.
-
When you started client side you must be able to see the link inside the second terminal, press
ctrl + click
- Nazar Tymiv - Full Stack Software Developer - Gihub Link - Portfolio Link - LinkedIn Link