Admin Guide
Within this guide you learn how to create your own arena.
This guide uses the MGSnake plugin because snake does not need any additional game specific setup. Some of the games may need further setup not covered by this guide. For example MGBedWars needs to setup the team beds, a merchant npc etc.
The Minigame-API itself handles everything by so called arenas. Wikipedia quotes that an arena is an enclosed area where the action goes on.
And that is excatly what an arena is for Minigames-API.
Every configuration is done via configuration files or chat command. The chat commands we are using here for snake are all prefixed by "/sc". Creating arenas for other minigames is the same but you have to use some other command prefix. For example the BedWars game uses prefix "/bw".
Let us now choose some meaningful arena name. Except some preserved keywords you can use any string. It should not be too long because later on we need signs and the signs have limited line length.
For example a snake arena in the sky an be called "sc-sky" oder an underwater snake arena can be called "sc-oceanic".
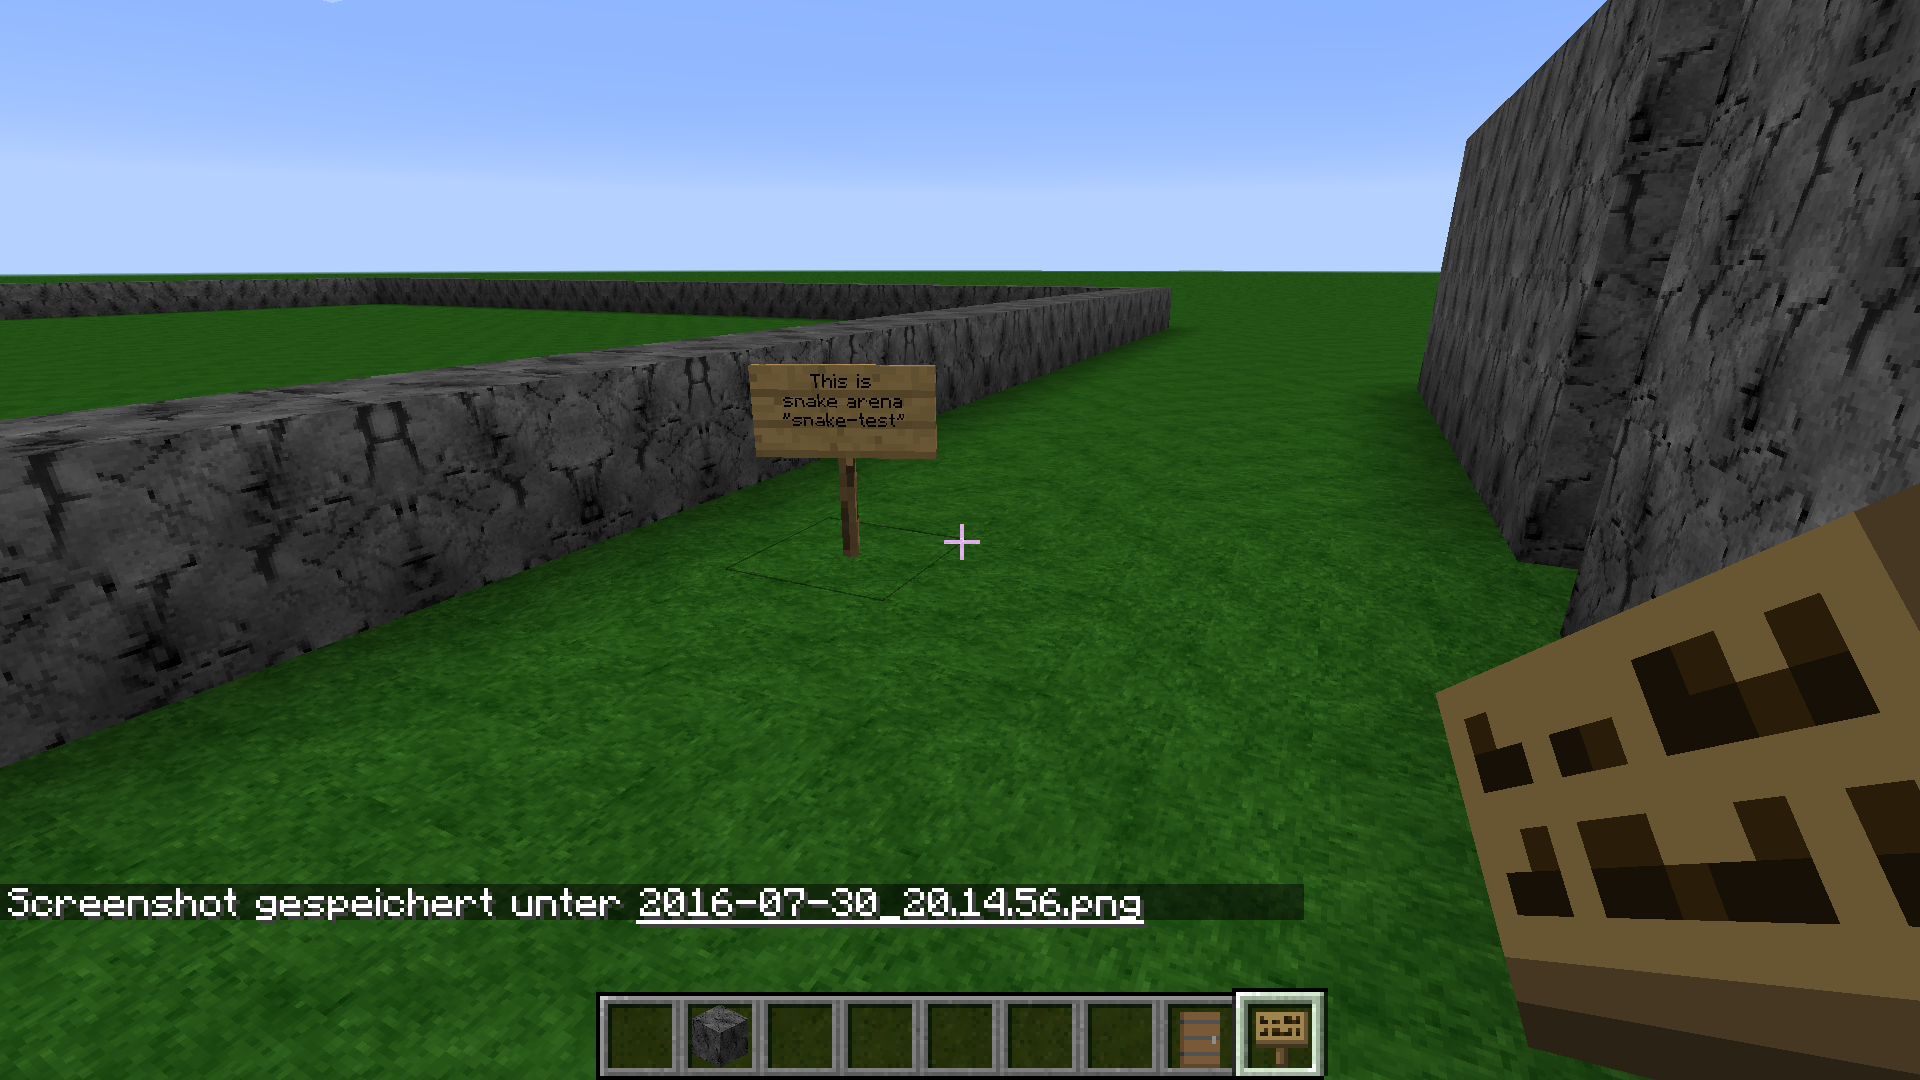
In the following example I use the arena name "snaketest".
First of all we need a main lobby. This is the place the players are ported after leaving the game. Currently there is exactly one main lobby for the whole game. So all snake arenas lead to the same main lobby.
I am creating some walls. it is only a show case so I do not care about design and architecture. I will make the main Lobby both, the starting point for players and the main lobby after the game ends.
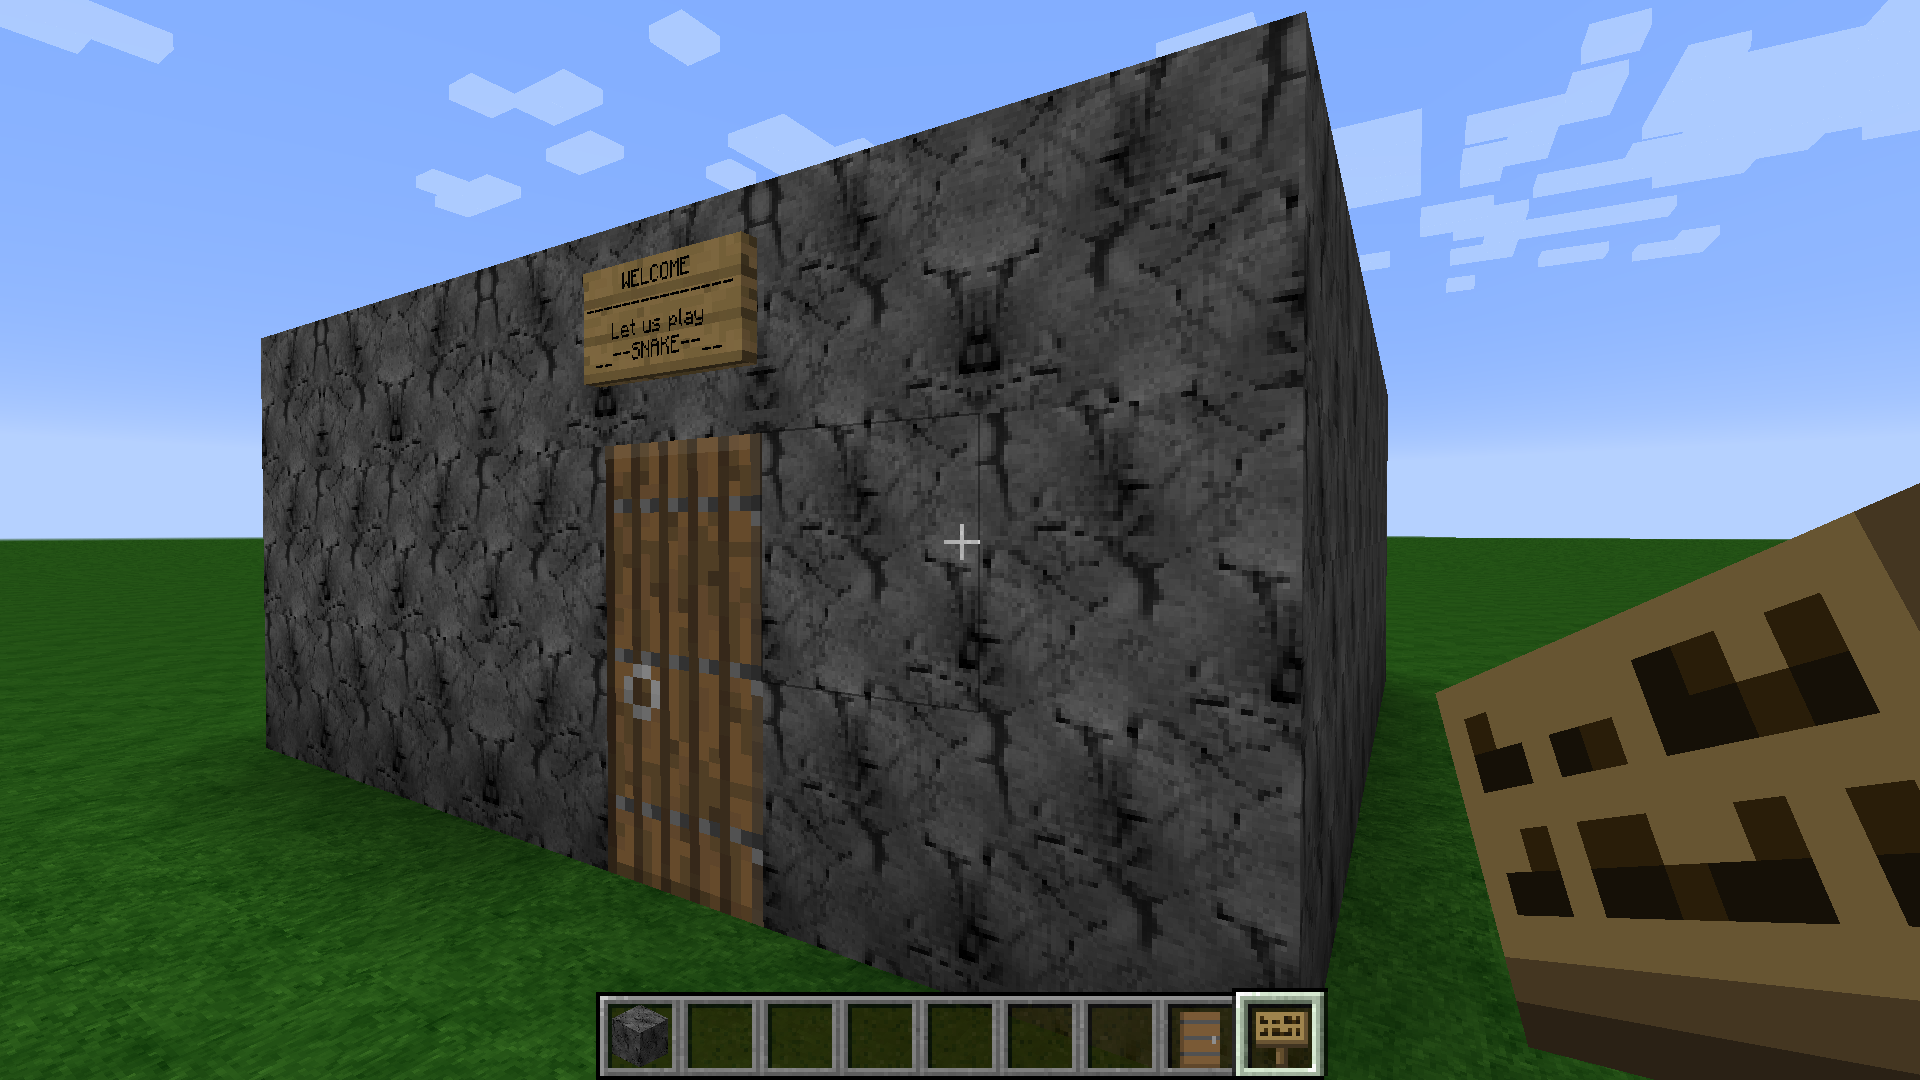
 Later on we will define the join signs.
Stand somewhere inside the building and type the following command:
/sc setmainlobby
You will receive the message "Successfully set main Lobby."
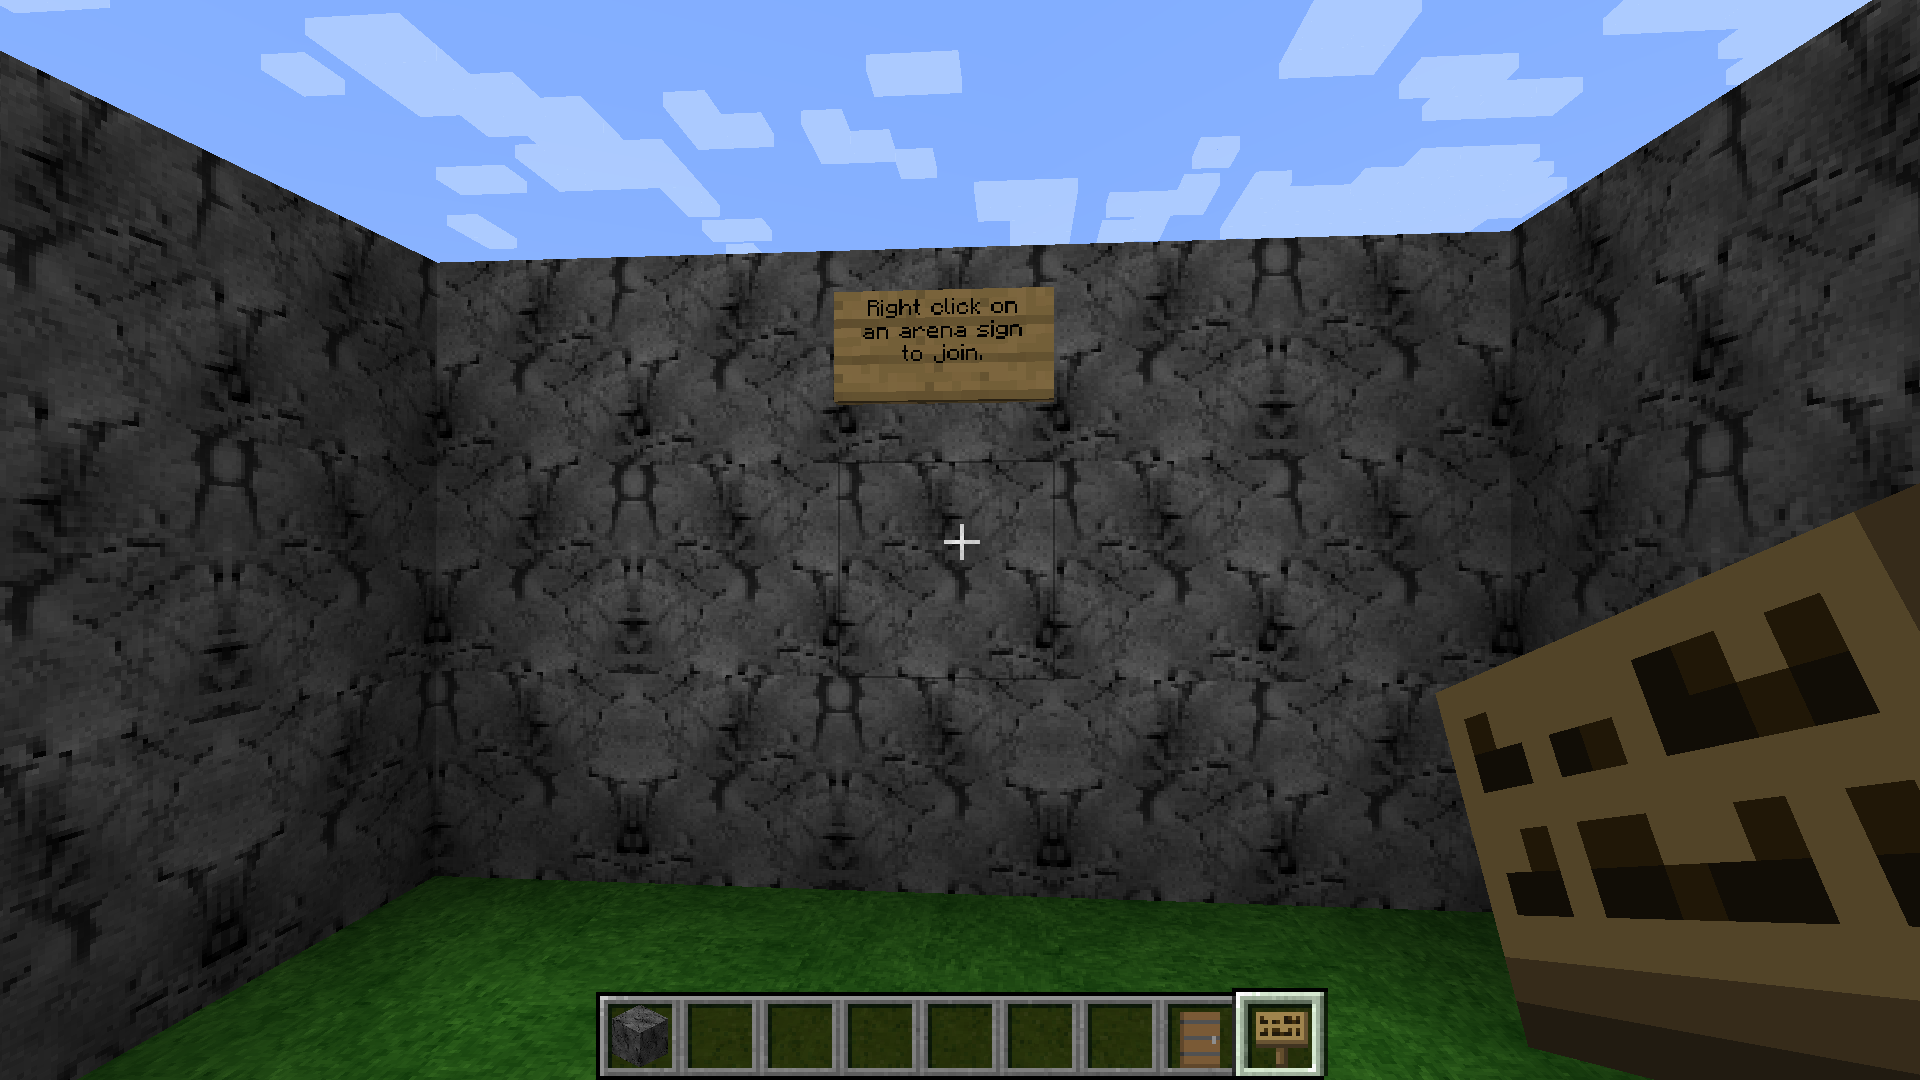
We need a second building. This is called the waiting lobby. After joining the game the players will be ported here and waiting for the game. This building has no door so that players can not run away ;-)

Go inside the waiting lobby building and type
/sc setlobby snaketest
You will receive message "Successfully set waiting lobby".
Minigames needs information about the size of the waiting lobby. A low edge of the waiting lobby and a high edge excatly on the opposite corner.
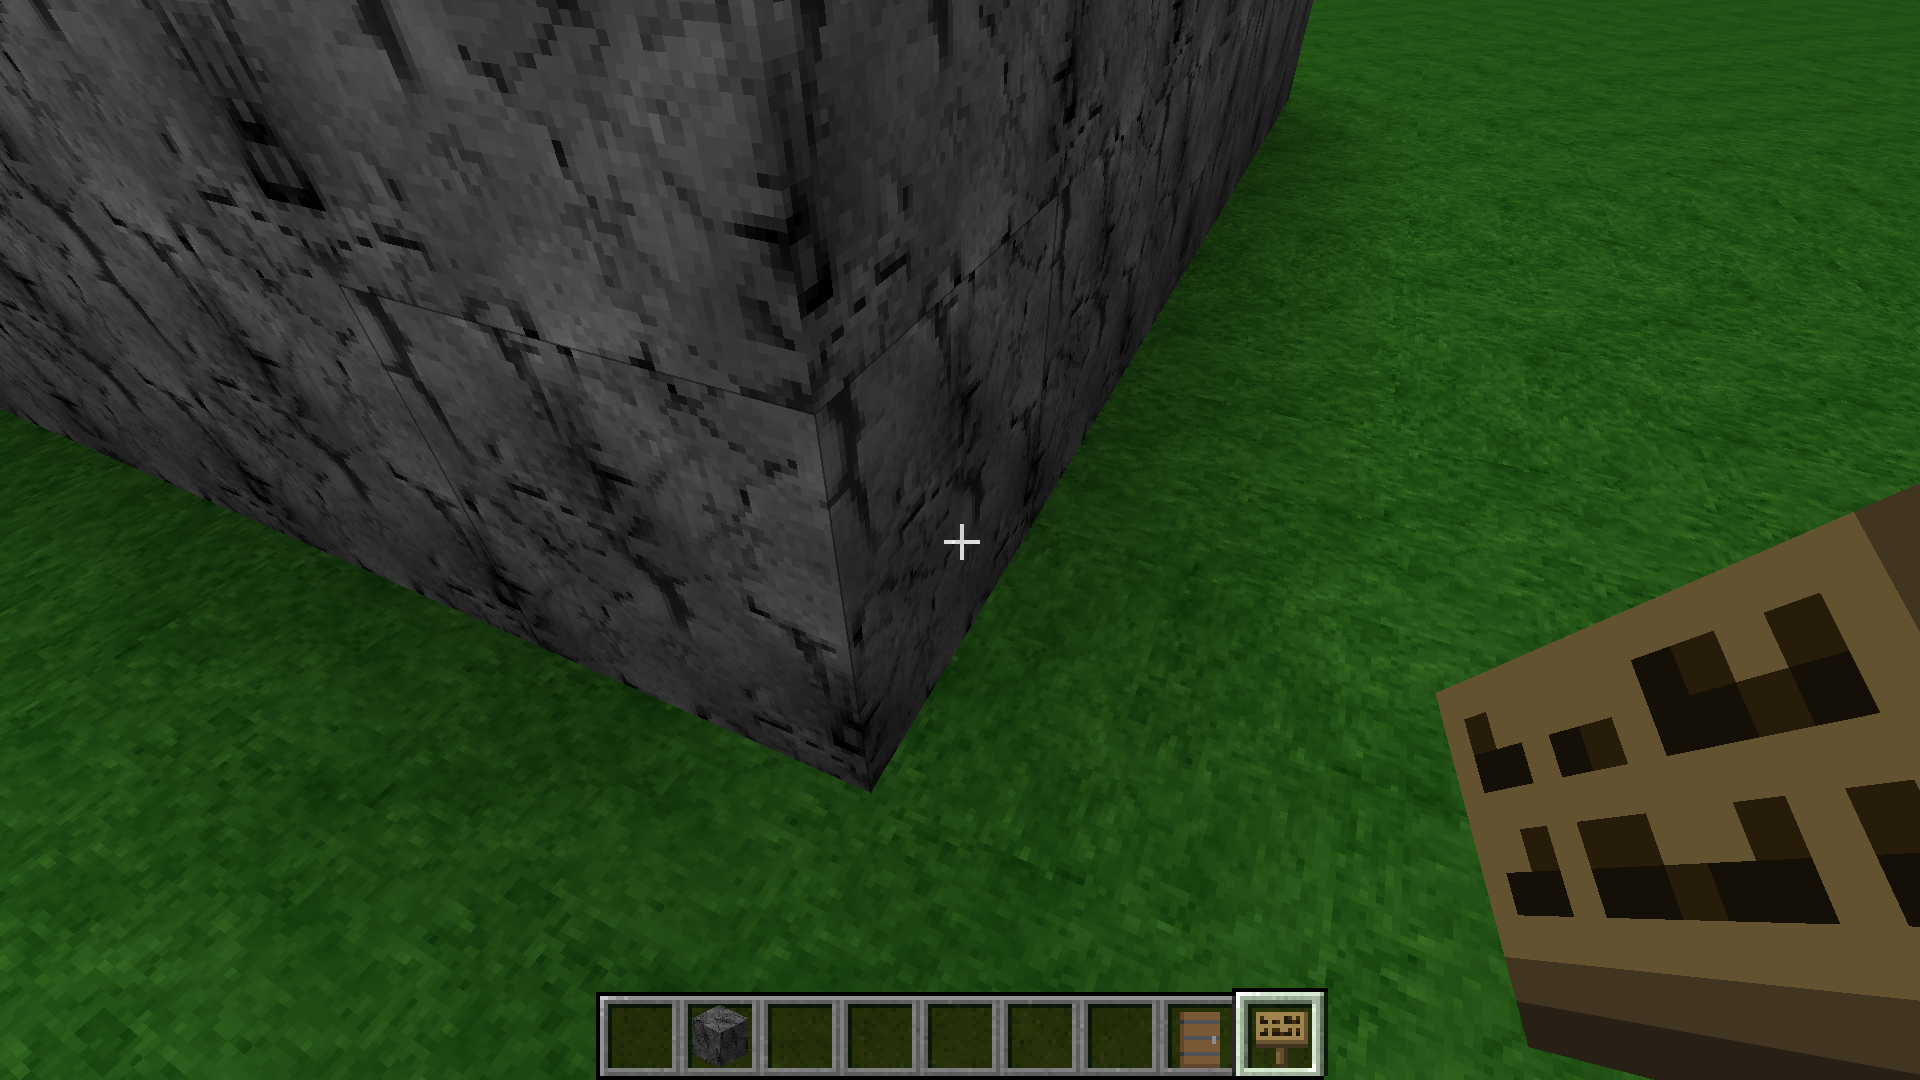
So we go to one lower edge of the building and type
/sc setlobbybounds snaketest low
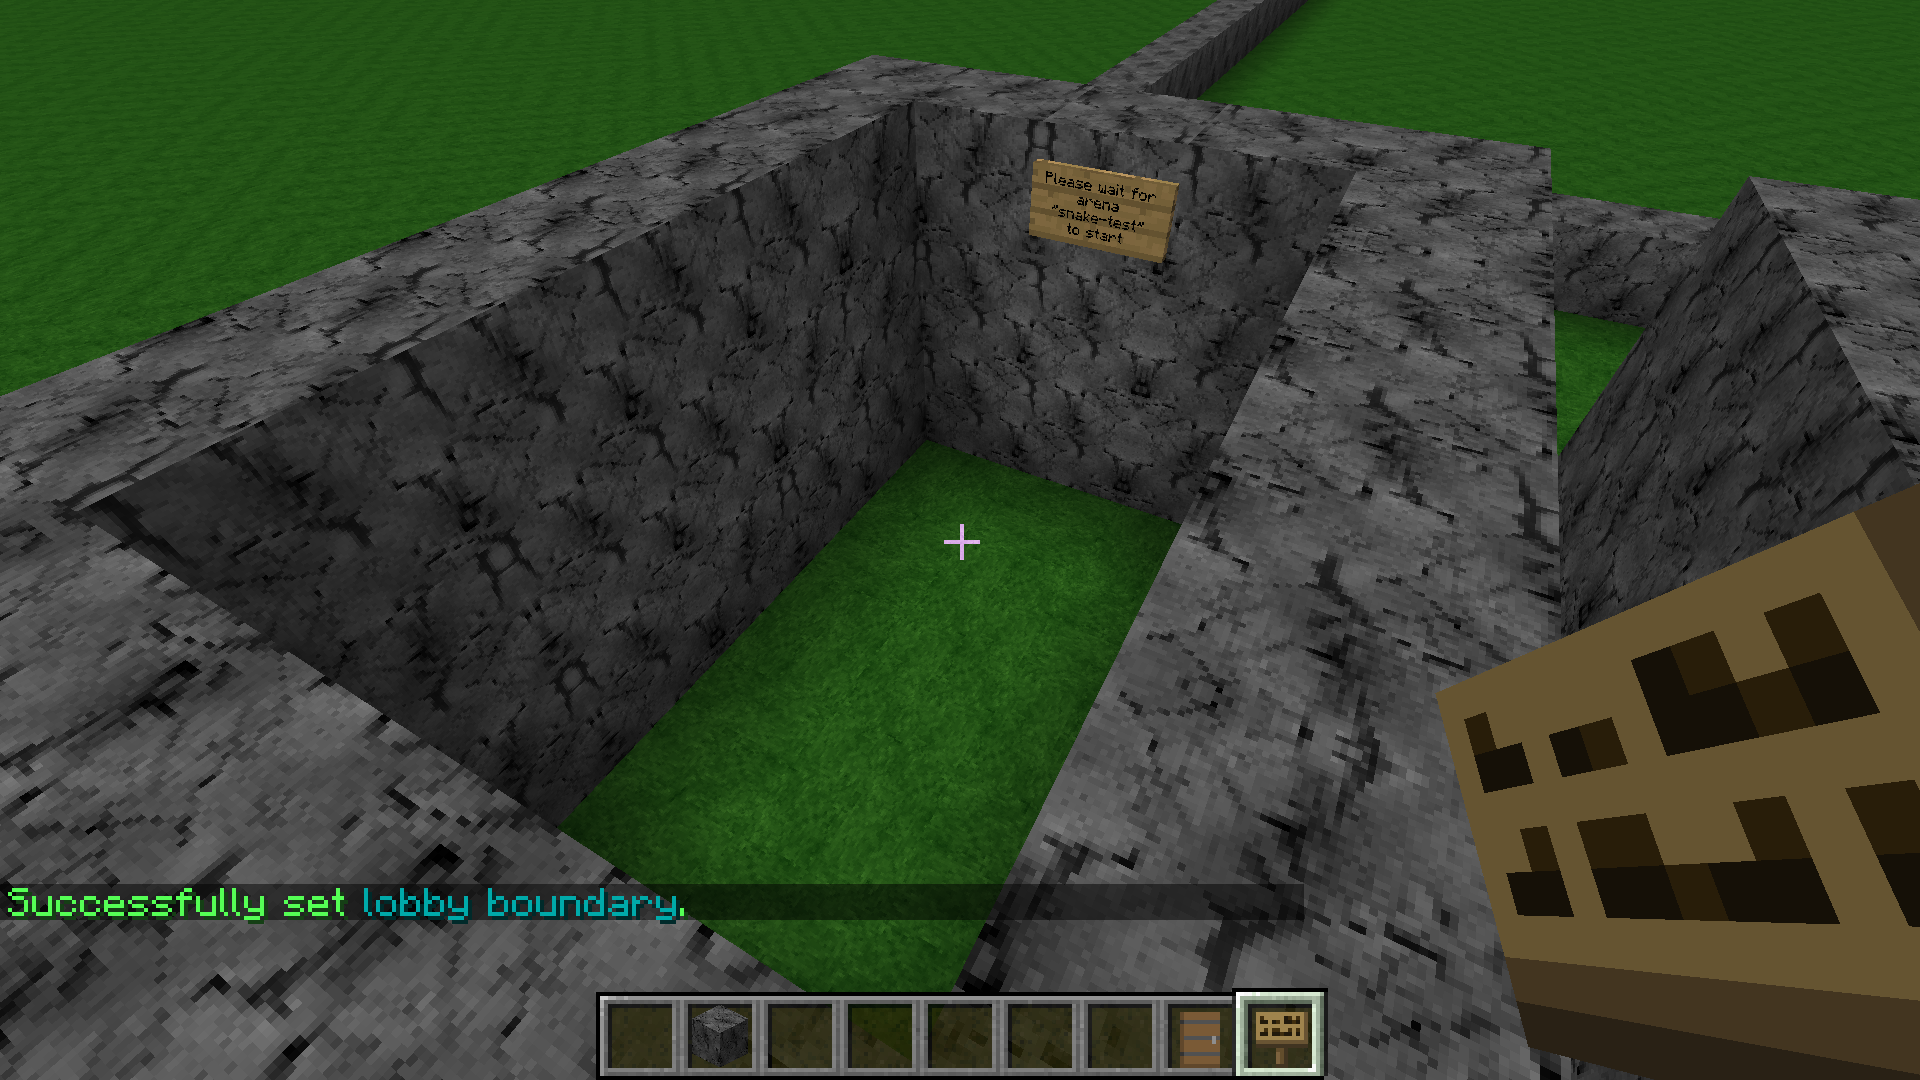
Now i fly on top of my small waiting lobby building and exactly on the opposite corner. I type:
/sc setlobbybounds snaketest high
Why do we need this bounds? Minigames-API ensures that the players cannot flee while being in the waiting lobby. If you think of an open field without walls you can set bounds so that the players cannot run away. Minigames-API will kick the players back once they are leaving the waiting lobby bounds.
For Snake we need some playing area, the arena. I create a new rectangular area and build walls.
Now I tell the Minigames-API the bounds of our arena. I am going to the first corner and type
/sc setbounds snaketest low
On the opposite corner and about two blocks up *) I type.
/sc setbounds snaketest high
*) If you have plugin WorldEdit you can simply type "//up 2". This will create a glass above you and you will from now on stand on a platform. A nice feature to create a higher bound.
Now we will create some spawn points. The spawn points are the locations a player is ported when the match starts. I simply create some stone at the grass level so that we see the spawn points.
 As you see I created 14 spawn points. That are many spawns for this small arena but it is only a sow case.
Now create on each spawn point and type
/sc setspawn snaketest
You will receive message "Sucessfully set spawn 0" etc.
I now type the following commands (should be self-explained):
/sc setminplayers snaketest 2
/sc setmaxplayers snaketest 14
/sc setauthor snaketest mepeisen
/sc setdescription snaketest This is some meaningful description
/sc setdisplayname snaketest TESTING
Thats all for creating the arena. We now save it via command
/sc savearena snaketest
There will be a successfull message.
After saving the arena we can create a join sign in our main lobby.
Simply create a new sign and enter the following lines (first and second line, the third and fourth line will be empty):
Snake
snaketest
You will now see a typical join sign. Right clicking will port you in the waiting lobby. As we set the min players to "2" the Minigames-API will now wait for a at leats a second player to join. As an Administrator we only want to test the arena by ourself. We can use the following command as an trick:
/sc start snaketest
This starts the snaketest arena. You are now playing by yourself. No chance to ever leave the aren because there is no opposite player.
If you want to leave manually either disconnect or type
/sc leave
or type
/sc stop snaketest
Thats it. We sucessfully created a snake arena.
TODO
There are default sub commands that work for any game. They are listed and explained on there own wiki page.
TODO
Details about setting up spectating support is found on another Wiki page
Details about classs.yml can be found on another Wiki page
TODO
TODO
Hidden Features
TODO
Permissions are described on the Permissions wikipage.
TODO
See Holograms wikipage.
Database Support is explained on the MySQL-Setup wikipage.