Install
This page will tell you how to install rTorrentWeb, as well as everything it requires (a web server, PHP, and rTorrent itself). Please review it before starting installation :-). It assumes that you are using a Debian or Debian-based system (for example, Ubuntu). If you are using a different Linux distribution on your server, the steps will be different. If you already have rTorrent and a web server installed, you can skip the steps relating to installation of these. All commands listed should be run as root. On Ubuntu, you should run sudo -i before starting the installation (this will open a root shell for you).
This guide has been tested on:
- Debian Testing
- Ubuntu 9.10 Server
- Install needed software
- Install rTorrentWeb itself
The packages required are as follows:
- rTorrent — rTorrent itself.
- screen — Allows us to run rTorrent in the background.
- Lighttpd — A web server. Alternatively, you could use Apache (apache2) or Cherokee, if you're more familiar with those.
- PHP — The programming language rTorrentWeb is written in. PHP 5.2 or higher is required. The CLI version (php5-cli) is required, as well as the version for your web server (php5-cgi for most web servers, libapache2-mod-php5 for Apache).
- Some PHP Extensions — XMLRPC and PDO SQLite are needed.
On Debian, we can run this command to install rTorrent:
apt-get install rtorrent screen
We have to make a copy of the default configuration file, and edit it for our needs:
cp /usr/share/doc/rtorrent/examples/rtorrent.rc ~/.rtorrent.rc
nano ~/.rtorrent.rc
Look through this file and change any options you want to (download_rate and upload_rate are important so your connection doesn't get killed by torrents :P). Most of the options are disabled by default. To enable an option, delete the # from the start of its line. Make sure you enable a session directory, otherwise your torrents will dissapear on reboot and you will have to add them again!
Once done going through all the changes you want to make, add the following line to the bottom of the file:
scgi_port = localhost:5000
umask = 0002
The first line opens a socket that rTorrentWeb can communicate to rTorrent through (via the web server), and the second line tells rTorrent to create torrent data files with the correct permissions (so we can delete them from rTorrentWeb). Press Ctrl+O then ENTER to save the file, and CTRL+X to exit nano. Now, let's start rTorrent inside a screen:
screen rtorrent
rTorrent will open, and "XMLRPC initialized with x functions." should appear at the bottom of the screen. This means that rTorrent's socket was set up properly. Press CTRL+A D (CTRL+A followed by D) to "detach" the screen. You should see "[detached]". rTorrent is now running in the background. To get it back, run screen -r. For now, we'll leave it detached (it's still running in the background), and set up the web server.
You have a choice of either Lighttpd or Apache. Apache is more popular, but Lighttpd is light and I'd recommend it :)
On Debian, we can run this command to install all the needed packages for a Lighttpd web server:
apt-get install lighttpd php5-cli php5-cgi php5-xmlrpc php5-sqlite
Once this is done, we have to add a section in Lighttpd's configuration to create a socket for communicating to rTorrent through.
nano /etc/lighttpd/conf-available/99-rtorrent.conf
Inside this new file, paste the following text:
server.modules += ("mod_scgi")
scgi.server = (
            "/RPC2" =>
              ( "127.0.0.1" =>
                (
                  "host" => "127.0.0.1",
                  "port" => 5000,
                  "check-local" => "disable",
                  "disable-time" => 0,  # don't disable if connection dies
                )
              )
          )
Press Ctrl+O then ENTER to save the file, and CTRL+X to exit nano. Once this is done, we have to enable PHP's FastCGI, and our new rTorrent configuration in Lighttpd:
lighty-enable-mod fastcgi
lighty-enable-mod fastcgi-php
lighty-enable-mod rtorrent
Reload Lighttpd's configuration to apply the change:
/etc/init.d/lighttpd force-reload
Now, skip down to the "Either server" section below to continue this tutorial.
On Debian, we can run this command to install all the needed packages for an Apache web server:
apt-get install apache2 php5-cli libapache2-mod-php5 php5-xmlrpc php5-sqlite libapache2-mod-scgi
Once this is done, we have to add a section in Apache's configuration to create a socket for communicating to rTorrent through.
nano /etc/apache2/mods-available/scgi.conf
Inside this new file, paste the following text:
SCGIMount /RPC2 127.0.0.1:5000
Press Ctrl+O then ENTER to save the file, and CTRL+X to exit nano. Once this is done, we have to enable PHP's Apache module, and our new rTorrent configuration in Apache:
a2enmod php5
a2enmod scgi
Reload Apache's configuration to apply the change:
/etc/init.d/apache2 restart
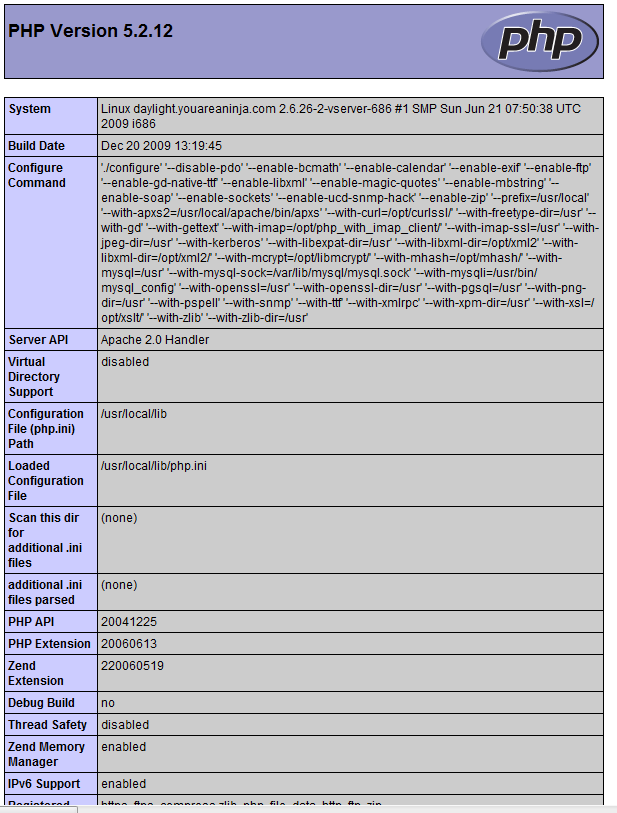
Now, let's verify that PHP works. Run the following command:
echo "<?php phpinfo(); ?>" > /var/www/phpinfo.php
And go to http://serverip/phpinfo.php in your web browser (you may find the server's IP by running ifconfig). If successful, you should see a long page with details on your PHP installation:
Now for the fun part, installing rTorrentWeb! rTorrentWeb has an automated installer, which should (theoretically) make it even easier to install.
cd /tmp
wget http://rtorrentweb.com/downloads/rTorrentWeb_1.0.tar.gz
tar zxf rTorrentWeb_1.0.tar.gz
cd rTorrentWeb_1.0
chmod +x install.php
./install.php
Now just follow the instructions. All the default settings should be okay for a Linux system. Once it's done, go to the URL, log in with the username and password given, and it should work :)
If you get "An error occurred while refreshing: Could not connect to rTorrent XMLRPC", it means that rTorrent's socket is not set up correctly (either in rTorrent itself, or in Lighttpd). Verify that you did all of the above changes.