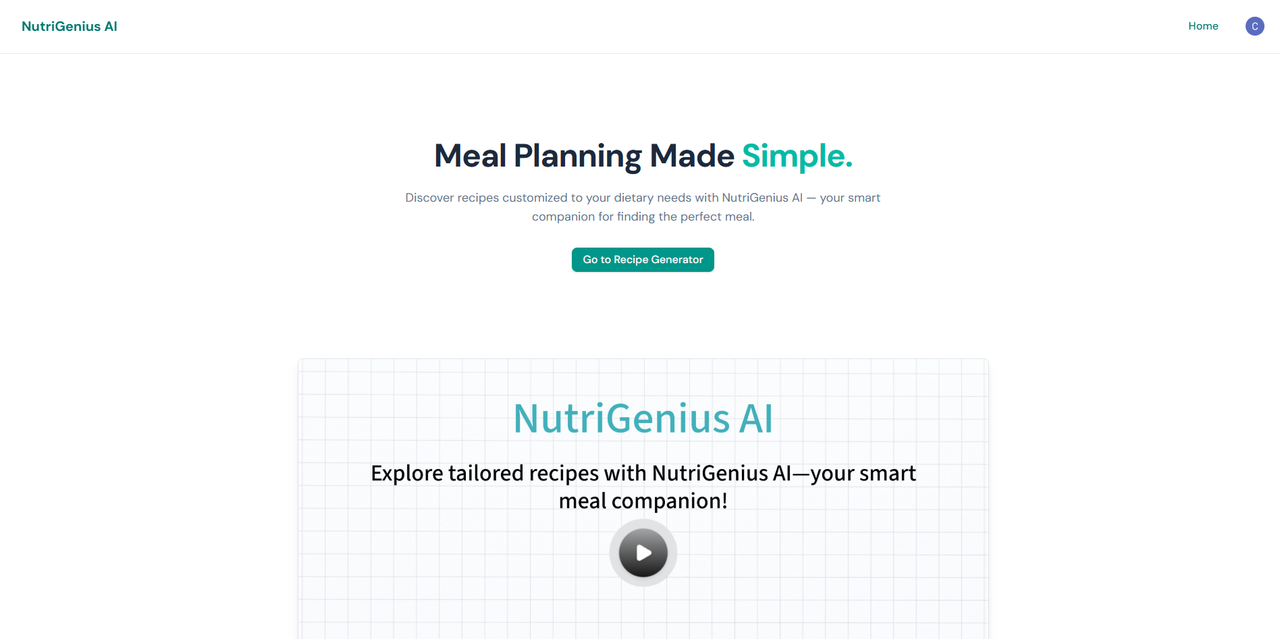
Welcome to the frontend of NutriGenius, a smart recipe recommendation system built with Next.js and Tailwind CSS. This application provides a user-friendly interface for users to input their health data, dietary preferences, and desired ingredients to receive personalized meal recommendations from our custom-trained machine learning model.
- User Authentication: Secure sign-up and sign-in functionality powered by Clerk.
- Detailed Recipe Form: A comprehensive form to input height, weight, desired ingredients, allergies, meal type, weight goal, and diet preferences.
- Dynamic Recommendations: Fetches and displays a list of personalized recipes from the FastAPI backend.
- Interactive Recipe Cards: Each recipe is displayed on a clean, modern card layout.
- View Full Procedure: Users can click on any recipe card to view the full step-by-step cooking instructions in a dialog modal.
- External Recipe Links: Provides a direct link to view the full, original recipe on its source website.
- Responsive Design: Fully responsive interface that works seamlessly on desktop, tablet, and mobile devices.
- Blazing Fast API: FastAPI backend, serving recipes in under 100ms.
- Framework: Next.js
- Authentication: Clerk
- Styling: Tailwind CSS
- UI Components: Shadcn/UI
- Form Management: React Hook Form & Zod
- Data Fetching: TanStack Query (React Query)
- Backend: Python (FastAPI)
- Machine Learning: Scikit-learn & Pandas
Follow these instructions to set up a local copy of the project for development and testing purposes.
- Node.js (v18.x or later)
- npm, yarn, or pnpm
- A Clerk account for authentication keys.
-
Clone the repository:
git clone https://github.com/Arsenic-01/nutrigenius.git cd nutrigenius -
Install dependencies:
npm install
To connect the frontend to your backend API and Clerk, you need to create an environment variable file.
-
Create a file named
.env.localin the root of your project. -
Add the following variables. You can get the Clerk keys from your Clerk dashboard.
# Backend API URL
NEXT_PUBLIC_API_URL=http://127.0.0.1:8000

# Clerk Authentication Keys
NEXT_PUBLIC_CLERK_PUBLISHABLE_KEY=your_clerk_publishable_key
CLERK_SECRET_KEY=your_clerk_secret_key
Note: If you have deployed your backend, replace the local API URL with your live Render URL (e.g.,
https://url-of-your-backend.onrender.com).
In the project directory, you can run the following commands:
-
npm run devRuns the app in development mode. Open http://localhost:3000 to view it in the browser. -
npm run buildBuilds the app for production to the.nextfolder. -
npm run startStarts a production server after building the application.
The easiest way to deploy this Next.js application is by using Vercel.
- Push your code to a GitHub repository.
- Import your project on the Vercel dashboard.
- Configure Environment Variables: In your Vercel project settings, add your
NEXT_PUBLIC_API_URL,NEXT_PUBLIC_CLERK_PUBLISHABLE_KEY, andCLERK_SECRET_KEY. - Deploy: Vercel will automatically build and deploy your application.
This project was created to demonstrate the integration of a machine learning model with a modern web frontend. Feel free to explore, modify, and enhance it!