If you have CLion use it instead Visual Studio. In this tutorial we are using Visual Studio 2022, which implements some utilities about CMake.
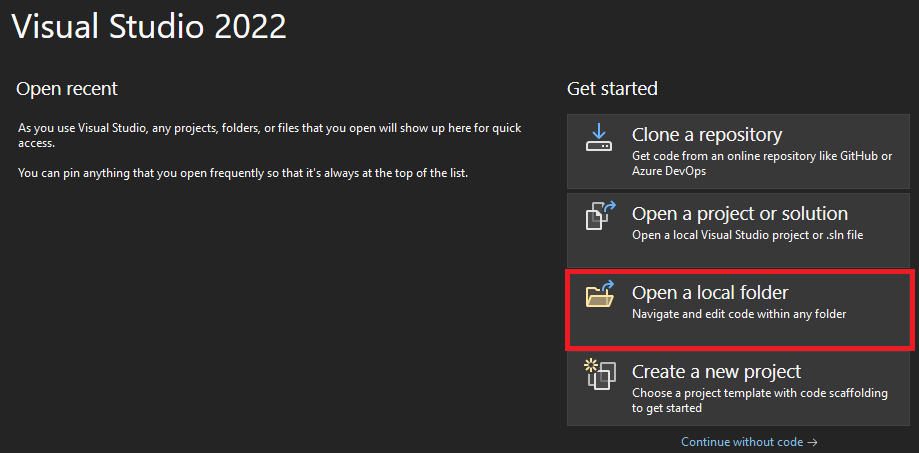
Our project is based on CMakeLists which will define all our project settings. There is not .vcxproj Visual Studio project file, so you have to open the project in a different way.
Even if Visual Studio does not display CMakeLists.txt files, it will detect them once a folder is opened with it.
The Visual Studio interface should open, and this tab will appear :
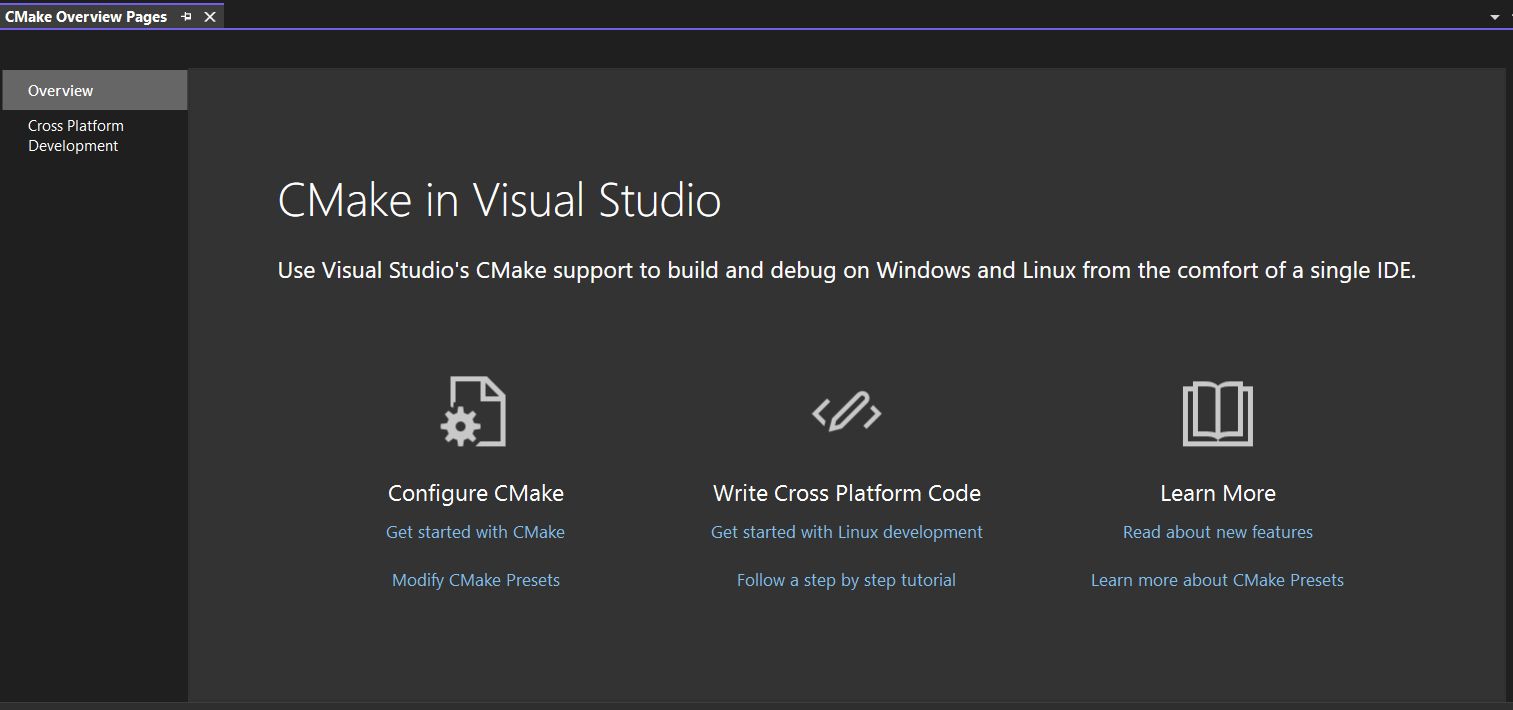
You can ignore it. What you have to do is to verify if the CMakeLists generate the project properly.
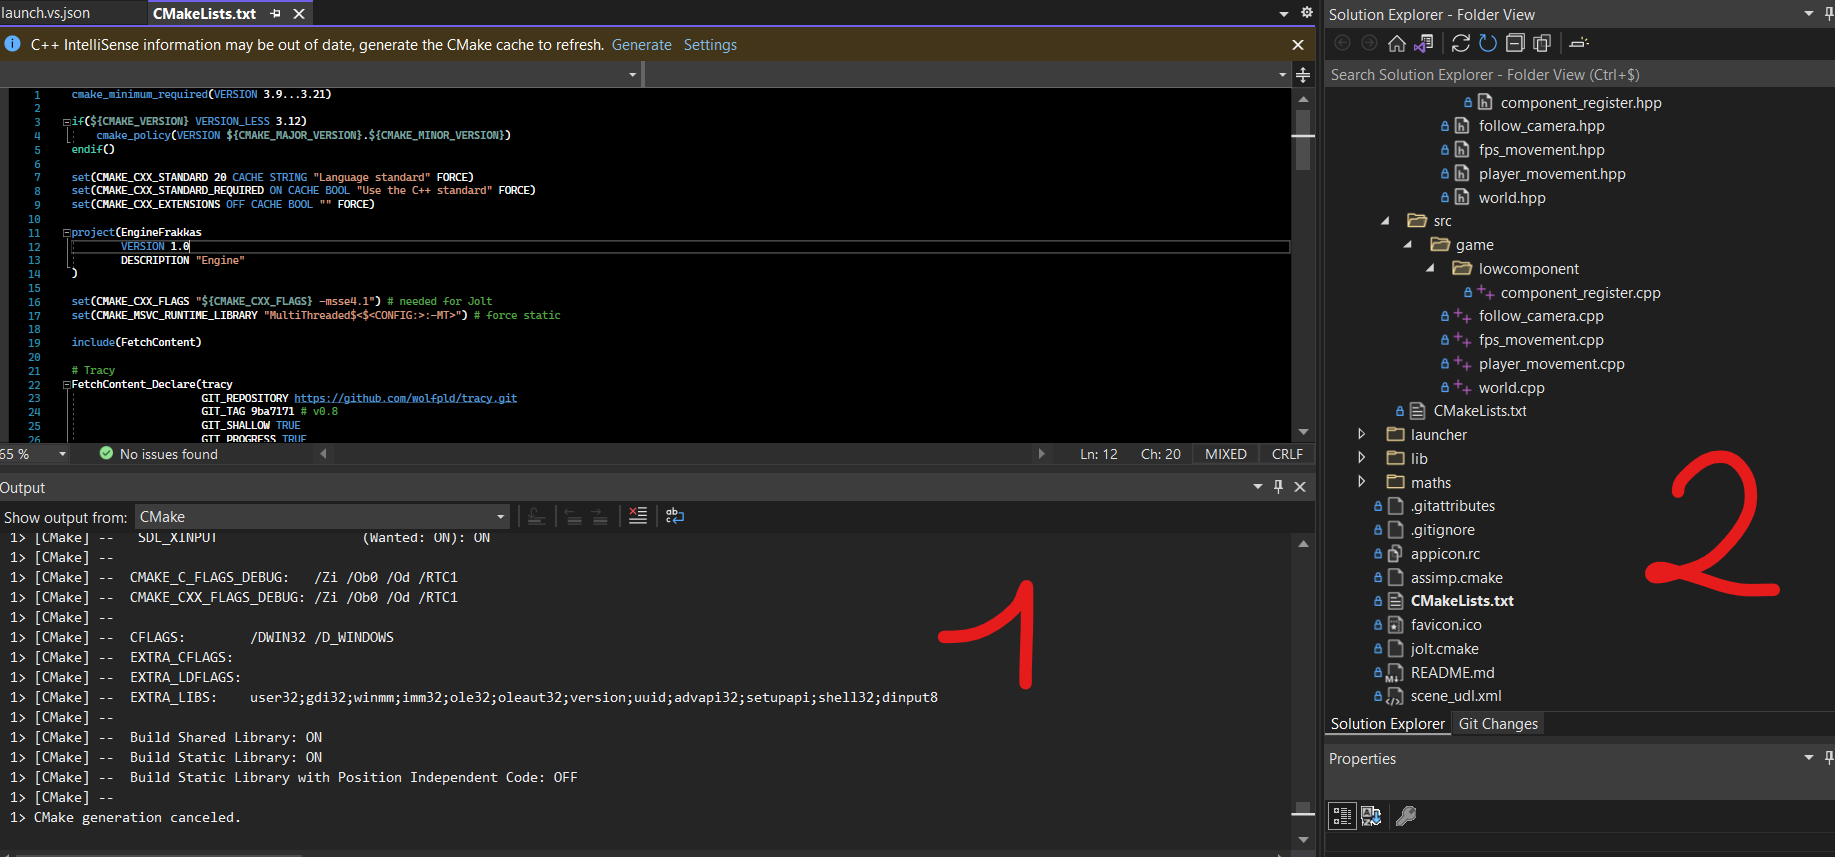
Here an exemple,
1 is the logger where the CMake generation will be printed,
2 the files hierarchy that is similar to file explorer view.
If Visual Studio does not generate the project, you should enable CMake generation :
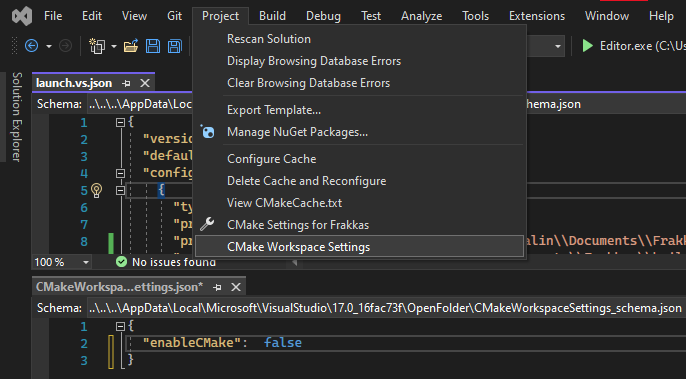
Go to Project -> CMake Workspace Settings.
Add and set "enableCMake" to true.
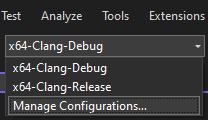
By default you just have a Debug build configuration, to add more: click on the configuration panel then on "Manage Configurations..."
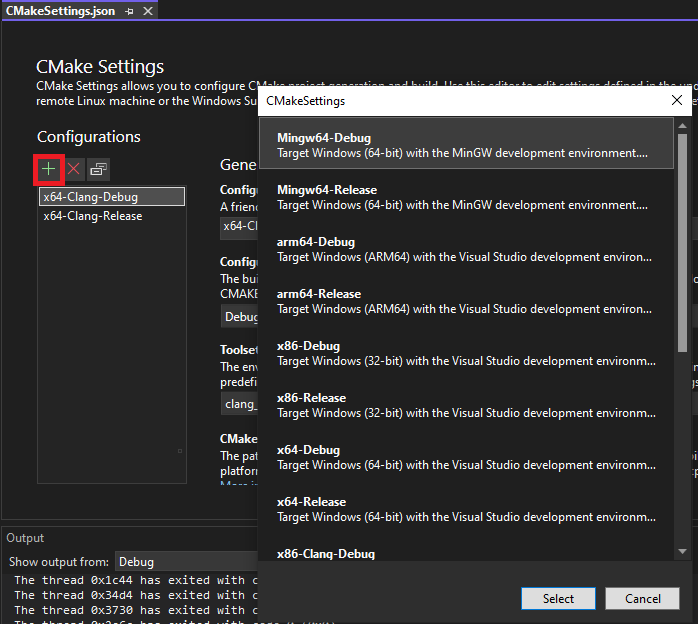
You just need to click on "Add a new configuration" and choose one in the list (preferably a x64 one). Be sure to have at least one debug and one release.
Visual Studio will execute the project in the 'build' directory, but this is awkward if you are updating resources in runtime. To avoid this, we have to setup the working directory. In the hierarchy, right click on the main CMakeLists.txt, then select "open Debug and Launch settings".
The file launch.vs.json will open in the IDE, all you have to do is to copy/paste the following code inside:
{
  "version": "0.2.1",
  "defaults": {},
  "configurations": [
    {
      "type": "default",
      "name": "Editor",
      "project": "CMakeLists.txt",
      "currentDir": "${workspaceRoot}",
      "buildConfigurations": [
        {
          "name": "Debug",
          "projectTarget": "Editor.exe (${workspaceRoot}\\build\\debug\\Editor.exe)",
          "project": "CMakeLists.txt",
          "args": [ "debug" ]
        },
        {
          "name": "Release",
          "projectTarget": "Editor.exe (${workspaceRoot}\\build\\release\\Editor.exe)",
          "project": "CMakeLists.txt",
          "args": [ "release" ]
        }
      ]
    }
  ]
}
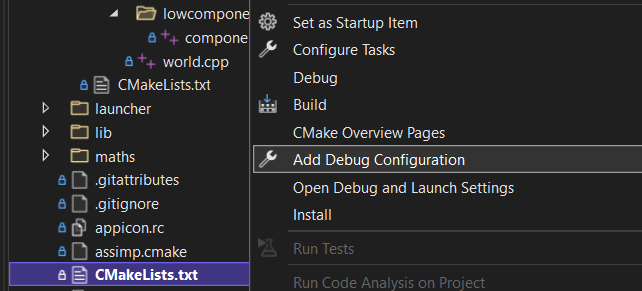
If you don't see the "Debug and Launch settings" options you have to create the lauch.vs.json file: right click on the main CMakeLists.txt, then select "Add Debug Configuration".
Finally, select the default configuration. The wanted file is now created, next, you have to replace the file content with the code above.
The last thing to do is to select a startup project. If you have multiple project, only "Editor.exe" or "Launcher.exe" is interesting.

Once you select a project, you can execute it as in standard Visual Studio project.